Chuyển email tự động vào một thư mục trong Outlook
- Thứ ba - 28/10/2025 22:10
- In ra
- Đóng cửa sổ này
Một cách tốt quản lý email trên Outlook là tự động chuyển hướng email đến đến các thư mục trong Outlook. Bạn có thể thực hiện việc này bằng cách thiết lập quy tắc, thông qua email hiện có hoặc bằng Rules Wizard. Bạn có thể dễ dàng lọc email từ người gửi hoặc công ty cụ thể vào các thư mục. Dưới đây là hướng dẫn chuyển email tự động vào thư mục Outlook.
Cách chuyển tiếp email đến thư mục trong Outlook
Để chuyển email đến một thư mục cụ thể, bạn làm như sau:
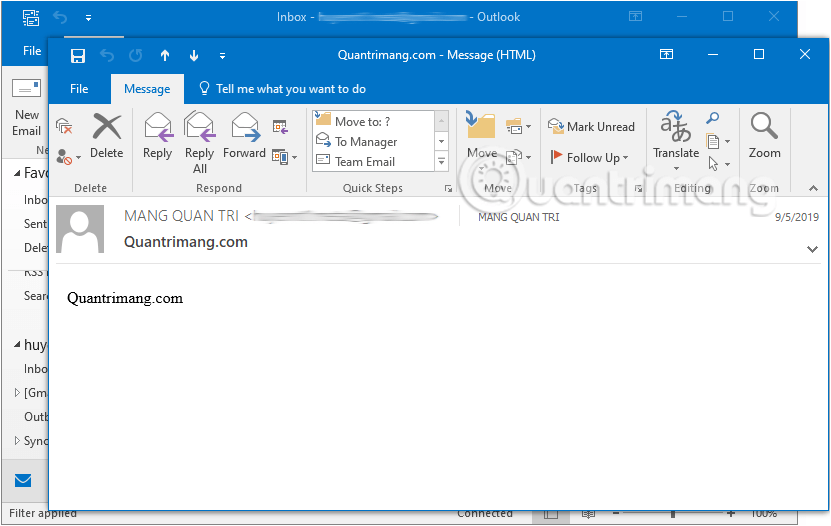
Bước 1: Mở email từ người gửi bạn muốn cài đặt di chuyển tự động đến thư mục cụ thể.
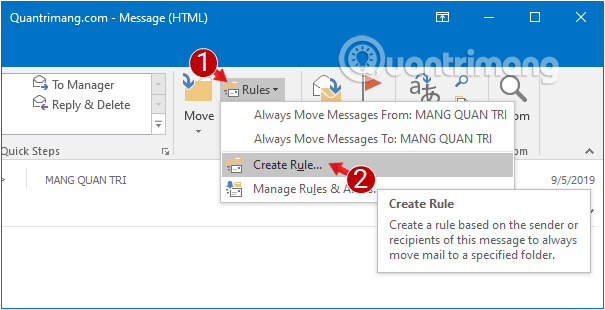
Bước 2: Ở tab Message, click chọn Rules > Create Rule.
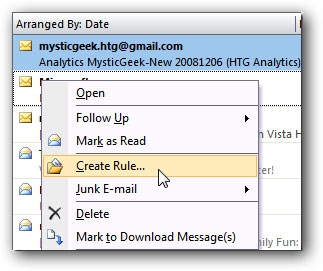
Với Outlook 2010 và 2007 thì nhấn chuột phải lên email bạn muốn đặt di chuyển tự động đến thư mục cụ thể và chọn Create Rule.
Bước 3: Trong hộp thoại Create Rule mở ra, bạn tích chọn ô From [Người gửi] và Move the item to folder.
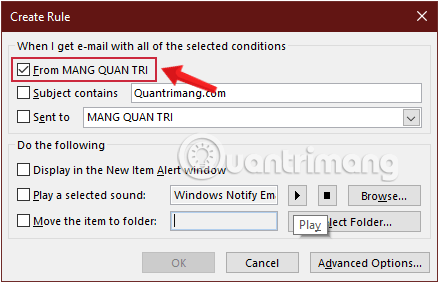
Thao tác này sẽ đánh dấu việc từ sau này, các thư được gửi từ [Người gửi] sẽ chuyển trực tiếp vào một thư mục sẽ tạo ở bước sau.
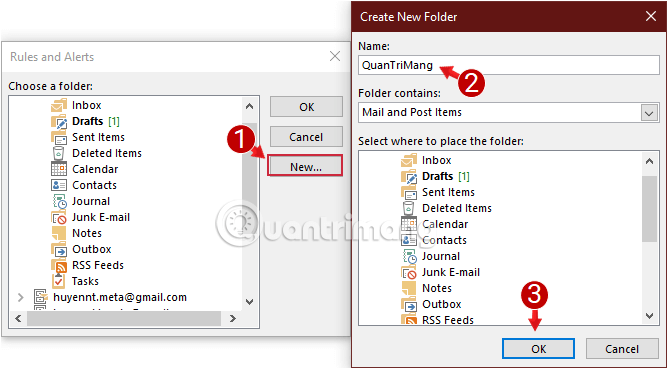
Bước 4: Sau khi tích mục Move the item to folder, hộp thoại Rules and Alerts sẽ được hiển thị, bạn chọn thư mục để lưu trữ mail từ [Người gửi].
Nếu muốn tạo folder mới, chọn New, nhập tên cho thư mục trên cửa sổ Create New Folder và chọn OK.
Bước 5: Nhấn OK trong cửa sổ Create Rule sau đó OK trên hộp thoại xác nhận sau. Tất cả đã hoàn tất, bây giờ tất cả các email được gửi từ [Người gửi] sẽ được chuyển đến một thư mục cụ thể đúng như mong muốn của bạn.
Chuyển email tự động vào thư mục Outlook bằng Rules Wizard
Nếu bạn muốn kiểm soát chặt chẽ hơn cách lọc thư, thì có thể dùng Rules Wizard của Outlook. Phương pháp này tương đối phức tạp nhưng bạn có thể tự động hóa nhiều hơn và tùy chỉnh nhiều hơn.
Bước 1:
Tại giao diện Outlook bạn tìm tới nhóm Move, sau đó nhấn chọn Rules rồi chọn Manage Rules & Alerts…

Trong giao diện hiển thị người dùng nhấn chọn vào New Rule…

Bước 2:
Tiếp tục tại Start from a blank rule người dùng chọn Apply rule on messages I receive để tiến hành tạo quy tắc cho email nhận được. Nhấn Next để tiếp tục.

Bước 3:
Chọn tiếp các điều kiện khác nhau bạn muốn áp dụng cho các email mình nhận được, rồi nhấn Next ở bên dưới.
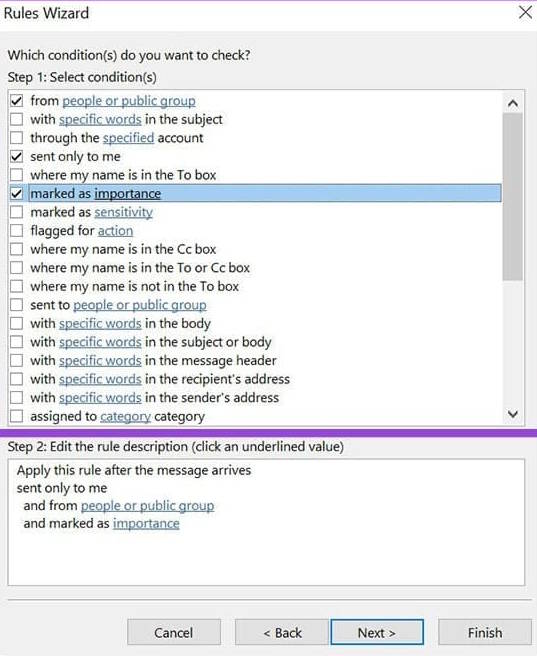
Lúc này bạn nhấp vào phần văn bản được gạch chân màu xanh lam cho từng điều kiện để chỉ định chi tiết, chẳng hạn như tên người gửi hoặc mức độ quan trọng và nhấn Next.
Bước 4:
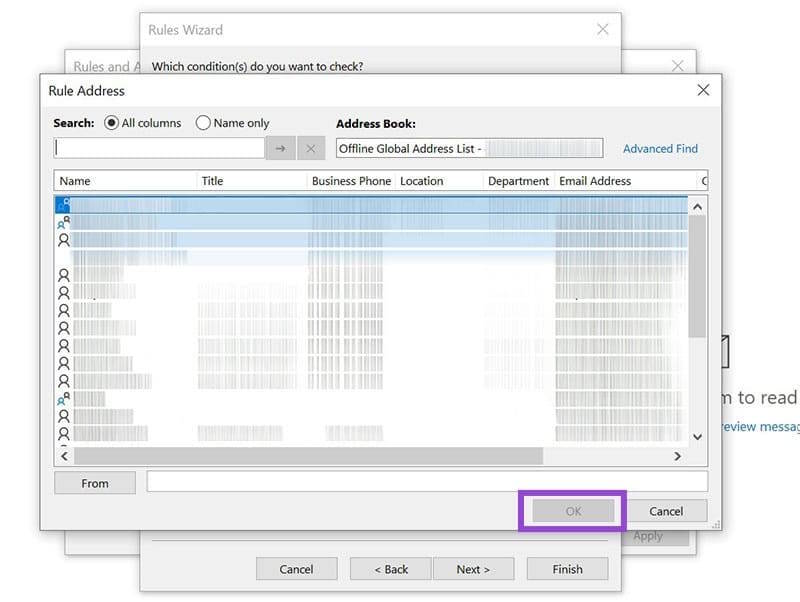
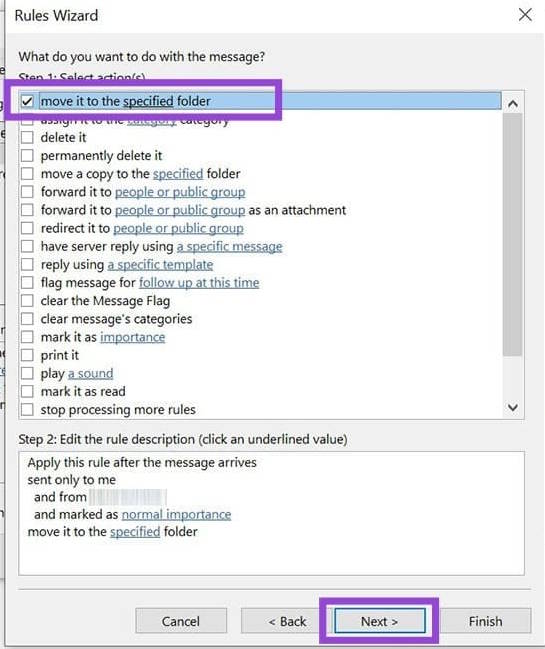
Click đúp vào tên hoặc nhóm công khai trong cửa sổ Rule Address, sau đó nhấn OK rồi nhấn Next. Tích chọn vào move it to the specified folder.
Bước 5:
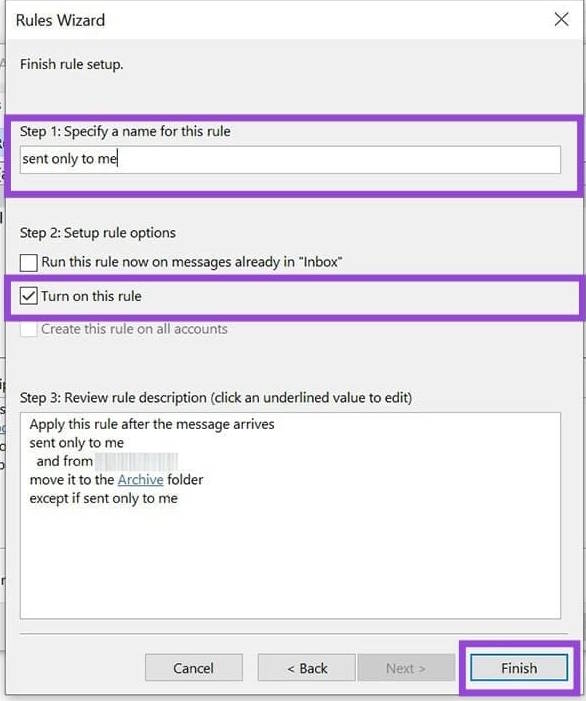
Trong giao diện mới nhấn specified rồi chọn thư mục đích cho email muốn chuyển đến. Đặt tên cho quy tắc và đánh dấu vào Turn on this rule.
Cuối cùng bạn nhấn chọn Finish để kết thúc.
Cách chuyển email vào folder trong Outlook trên web
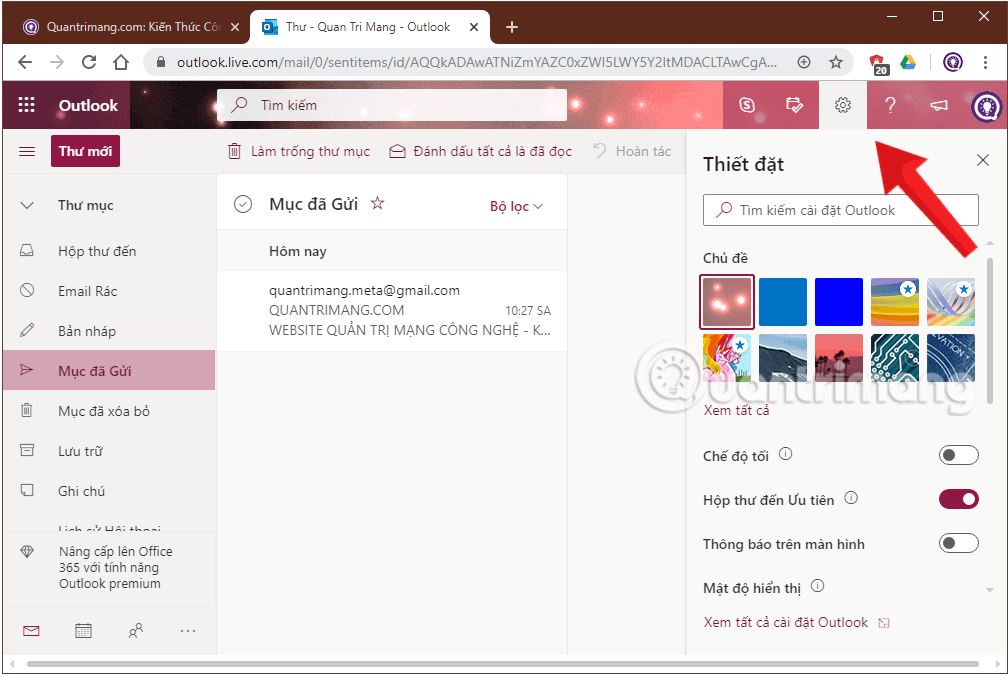
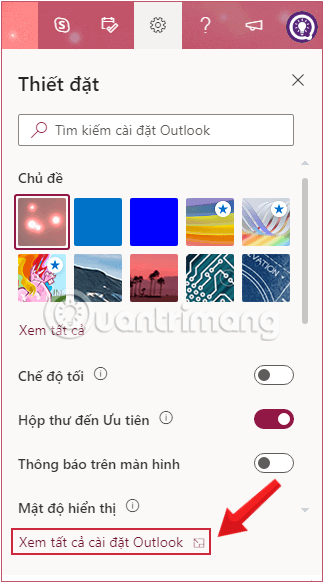
Bước 1: Đăng nhập tài khoản tại Outlook.com và chọn Thiết đặt (biểu tượng bánh răng ở góc trên bên phải). Outlook trên web giờ có Tiếng Việt nên bạn sẽ rất dễ dàng thao tác.
Bước 2: Chọn Xem tất cả cài đặt Outlook (View all Outlook settings)
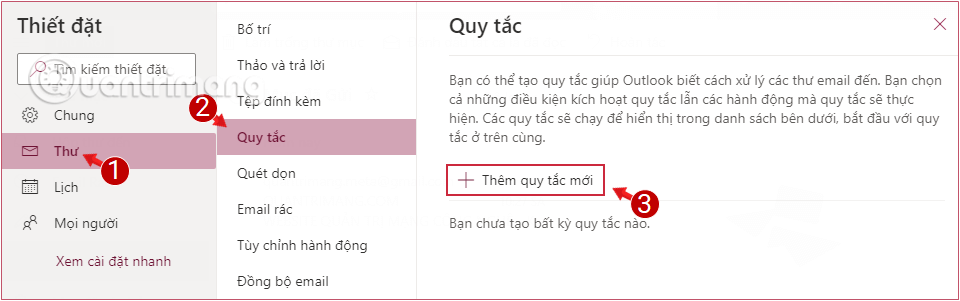
Bước 3: Trong cửa sổ Thiết đặt (Settings) hiển thị, bạn chọn Thư (Mail) > Quy tắc (Rules) > Thêm quy tắc mới (Add new rule).
Bước 4: Nhập tên cho thư mục mới trên giao diện Quy tắc (Rules).
Bước 5: Ở phần Thêm điều kiện (Add a condition), nhấn vào mũi tên chỉ xuống của Chọn điều kiện (Choose a condition) và chọn điều kiện bạn cần.
Ở đây Quantrimang.com chọn điều kiện là thư gửi từ một người cụ thể, nên sẽ click vào Từ (From) rồi nhập địa chỉ người gửi ở ô bên cạnh.
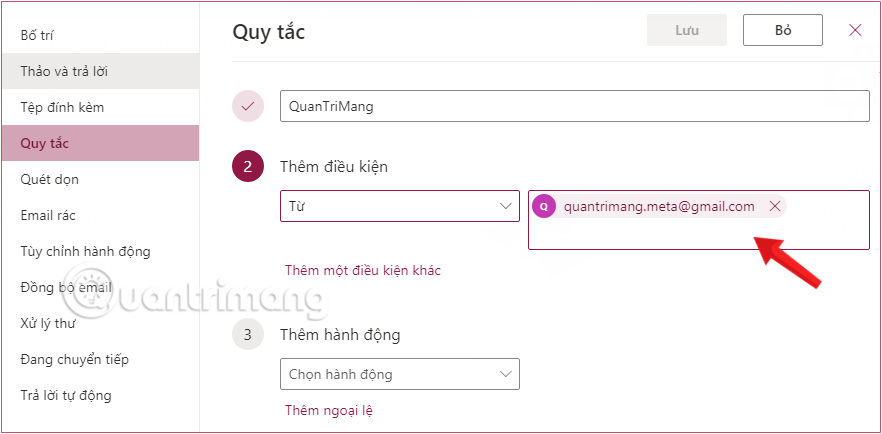
Có thể đặt nhiều điều kiện lồng nhau ở bước này nếu bạn muốn
Bước 6: Ở phần Thêm hành động (Add an action), nhấn vào mũi tên chỉ xuống của Chọn hành động (Choose an action) rồi chọn Di chuyển tới (Move to), sau đó thêm thư mục đích để lưu trữ mail theo điều kiện vào ô bên cạnh.
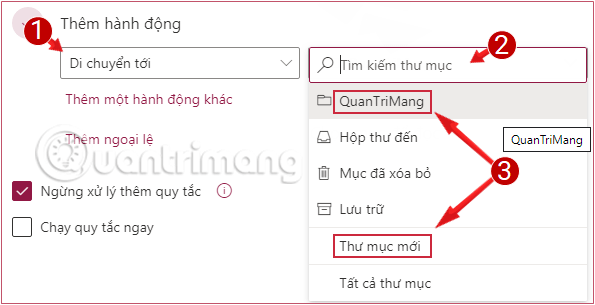
Bước 7: Chọn Lưu (Save). Email đến từ người gửi đó sẽ tự động chuyển đến thư mục bạn đã chọn.
Đây là một trong nhiều rules rất hữu ích giúp bạn sắp xếp Outlook ngăn nắp gọn gàng và quan trọng là nó cực kì dễ thực hiện. Bạn hãy thử xem nhé!
