Cách xem lịch sử cập nhật Windows 10
- Thứ ba - 23/07/2019 00:39
- In ra
- Đóng cửa sổ này
Các bản cập nhật tích lũy Windows 10 được phát hành ít nhất hai lần mỗi tháng và bao gồm bản sửa lỗi bảo mật và không bảo mật. Nó được tải và cài đặt tự động trong nền giúp cải thiện tính năng và sửa lỗi bảo mật quan trọng. Bản cập nhật Servicing stack, thành phần bảo mật được cài đặt mà không cần sự đồng ý của người dùng.
Việc cập nhật Windows 10 không phải lúc nào cũng dễ thực hiện, quá trình này có thể không thành công hoặc làm hỏng máy tính của bạn. Do đó, đây là lý do tại sao bạn nên xem lịch sử cài đặt cập nhật để có thể chẩn đoán sự cố hoặc đảm bảo máy tính luôn được cập nhật.
Bài viết này sẽ hướng dẫn bạn một số cách để xem lịch sử cập nhật trên Windows 10.
1. Cách xem lịch sử cập nhật bằng ứng dụng Settings
Bạn có thể xem các cập nhật đã cài đặt trên Windows thông qua ứng dụng Settings. Để kiểm tra, thực hiện theo các bước sau đây:
Bước 1. Mở menu Start.
Bước 2. Truy cập Settings.
Bước 3. Điều hướng đến Update & Security > Windows Update.
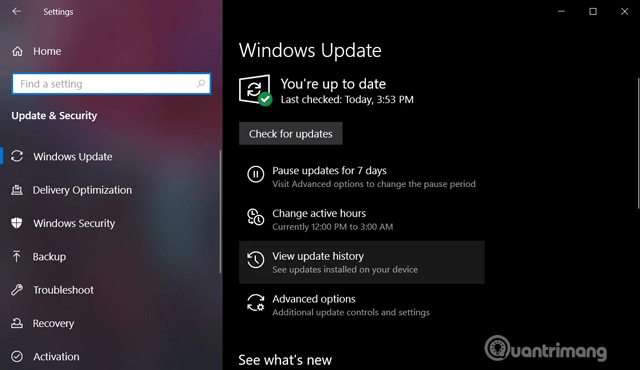
Bước 4. Click vào View update history.
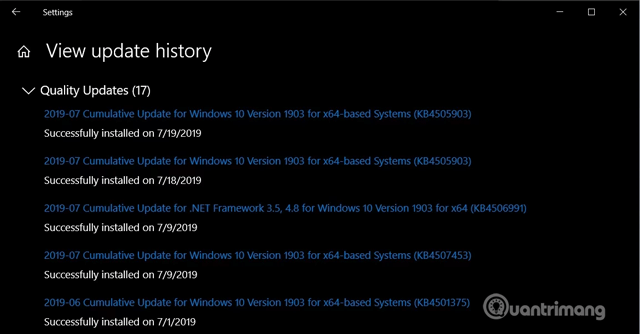
Trong trang Windows Update History, bạn sẽ thấy danh sách các bản cập nhật và thời gian được cài đặt trên máy tính.
2. Cách xem lịch sử cập nhật bằng Control Panel
Các bản cập nhật khác như Windows 10 Servicing Stack, Intel Microcodes và Visual Studio không được liệt kê trong trang Windows Update. Do đó bạn cần truy cập Control Panel để xem danh sách cập nhật bổ sung.
Bước 1. Mở menu Start hoặc Cortana.
Bước 2. Tìm kiếm Control Panel.
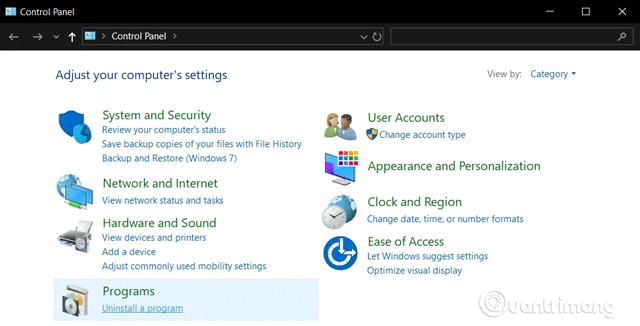
Bước 3. Trong Control Panel, điều hướng đến Programs > Programs and Features.
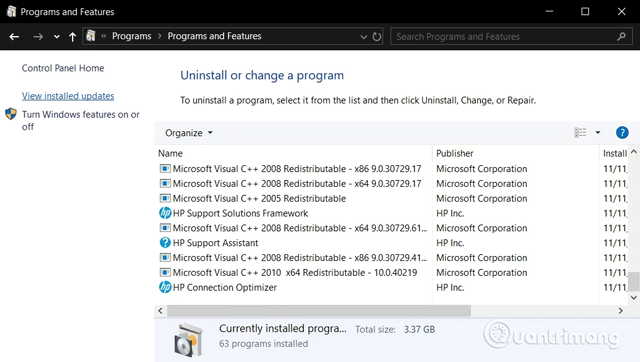
Bước 4. Click vào View Installed Updates để xem danh sách các bản cập nhật bổ sung.
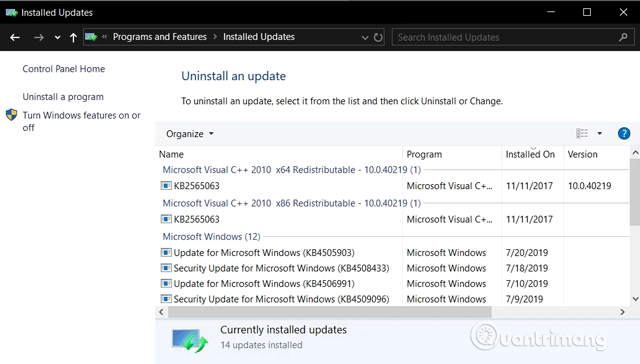
Bước 5. Bạn cũng có thể sử dụng thanh tìm kiếm và nhập số KB của bản cập nhật để tìm nó.
3. Cách xem lịch sử cập nhật bằng Command Prompt
Bạn có thể xem lịch sử cập nhật thông qua Command Prompt và lệnh systeminfo. Cách này rất hữu ích nếu bạn muốn file batch danh sách cập nhật.
Bước 1. Mở tìm kiếm/Cortana.
Bước 2. Tìm kiếm cmd.
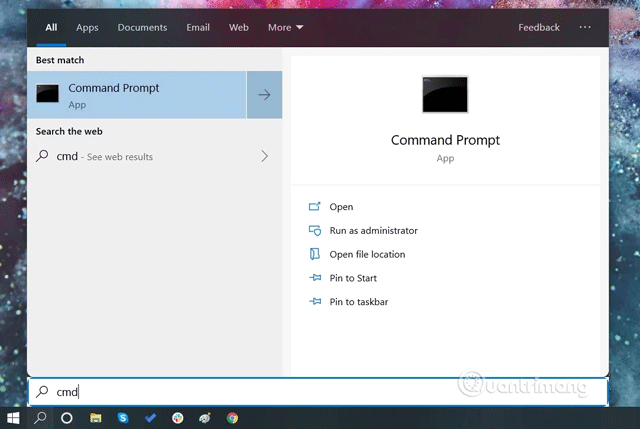
Bước 3. Mở Command Prompt với quyền admin.

Bước 4. Gõ systeminfo.exe và nhấn Enter.
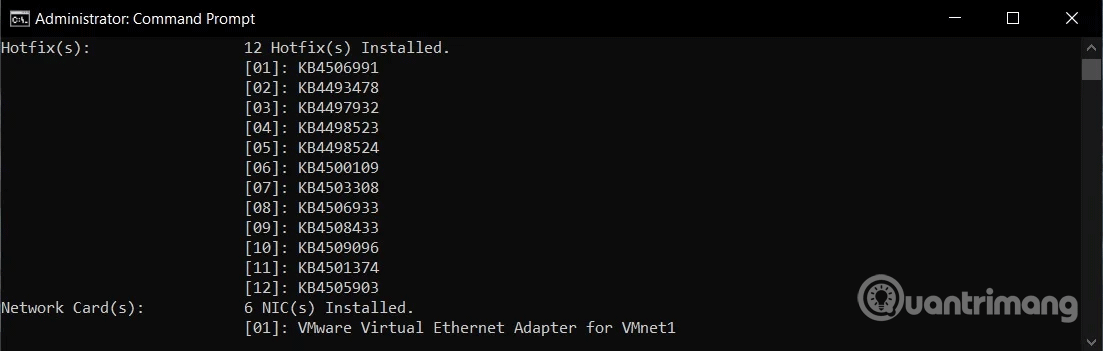
Bước 5. Trong phần Hotfix(s), bạn có thể tìm thấy danh sách cập nhật Windows đã cài đặt trên máy tính.
4. Cách xem lịch sử cập nhật bằng PowerShell
Cách cuối cùng, bạn có thể sử dụng PowerShell để xem danh sách cập nhật và truy vấn bản cập nhật cụ thể. Phương pháp này cực kỳ hữu ích cho admin hệ thống khi muốn biết những máy tính nào đã cài đặt bản cập nhật cụ thể.
Bước 1. Click chuột phải vào icon menu Start.
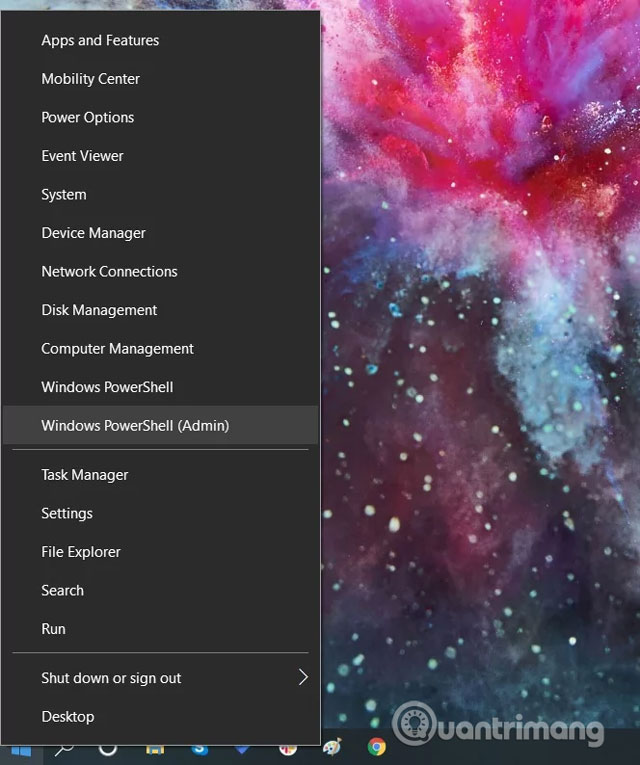
Bước 2. Click vào Windows PowerShell (Admin).
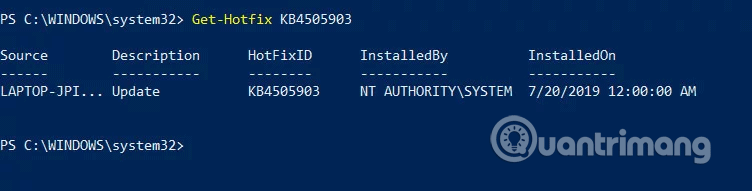
Bước 3. Trên PowerShell mở ra, gõ Get-Hotfix và nhấn Enter để lấy danh sách các bản cập nhật và thời gian cài đặt của nó.
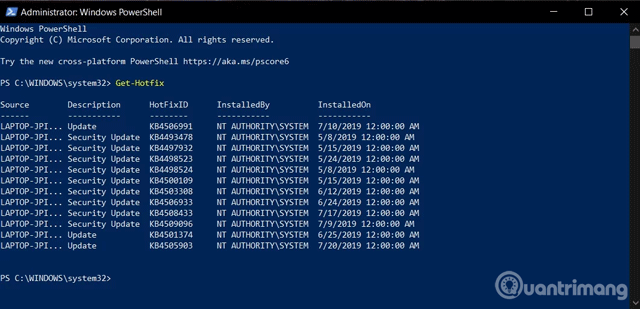
Bước 4. Bạn cũng có thể xem cập nhật cụ thể được cài đặt sử dụng số KB làm đối số. Ví dụ lệnh Get-Hotfix KB4505903 sẽ kiểm tra xem KB4497932 đã được cài đặt chưa.
Chúc các bạn thực hiện thành công!
