Cách tích hợp xác thực Google trong ứng dụng Next.js bằng NextAuth
- Thứ ba - 21/03/2023 00:48
- In ra
- Đóng cửa sổ này
Tích hợp hệ thống xác thực bảo mật là một bước phát triển quan trọng không chỉ cung cấp môi trường an toàn cho người dùng mà còn tạo cho họ niềm tin vào sản phẩm của bạn. Hệ thống này đảm bảo rằng dữ liệu của người dùng được bảo vệ và chỉ những cá nhân được ủy quyền mới có thể truy cập ứng dụng.
Xây dựng xác thực bảo mật từ đầu có thể là một quá trình tốn thời gian, đòi hỏi sự hiểu biết thấu đáo về các quy trình và giao thức xác thực, đặc biệt là khi xử lý những nhà cung cấp xác thực khác nhau.
Sử dụng NextAuth, bạn có thể chuyển trọng tâm sang xây dựng các tính năng cốt lõi. Đọc tiếp để tìm hiểu cách tích hợp thông tin đăng nhập Google trong ứng dụng của bạn bằng NextAuth.
NextAuth hoạt động như thế nào?
NextAuth.js là một thư viện xác thực nguồn mở giúp đơn giản hóa quy trình thêm chức năng xác thực và ủy quyền cho các ứng dụng Next.js cũng như tùy chỉnh quy trình xác thực. Nó cung cấp một loạt các tính năng như email, xác thực không cần mật khẩu và hỗ trợ cho nhiều nhà cung cấp xác thực khác nhau như Google, GitHub, v.v...

Ở cấp độ cao, NextAuth hoạt động như một phần mềm trung gian, hỗ trợ quá trình xác thực giữa ứng dụng của bạn và nhà cung cấp. Về cơ bản, khi người dùng cố gắng đăng nhập, họ sẽ được chuyển hướng đến trang đăng nhập của Google. Sau khi xác thực thành công, Google trả về một payload bao gồm dữ liệu của người dùng, chẳng hạn như tên và địa chỉ email của họ. Dữ liệu này được sử dụng để cấp quyền truy cập vào ứng dụng và tài nguyên của nó.
Sử dụng dữ liệu payload, NextAuth tạo phiên cho mỗi người dùng được xác thực và lưu trữ token phiên trong cookie chỉ HTTP an toàn. Token phiên được sử dụng để xác minh danh tính của người dùng và duy trì trạng thái xác thực của họ. Quy trình này cũng áp dụng cho các nhà cung cấp khác có thay đổi nhỏ trong quá trình triển khai.
Đăng ký ứng dụng Next.js trên Google Developer Console
NextAuth cung cấp hỗ trợ cho dịch vụ xác thực của Google. Tuy nhiên, để ứng dụng tương tác với các API của Google và cho phép người dùng xác thực bằng thông tin đăng nhập Google của họ, bạn cần phải đăng ký ứng dụng của mình trên Google Developer Console, lấy Client ID và Client Secret.
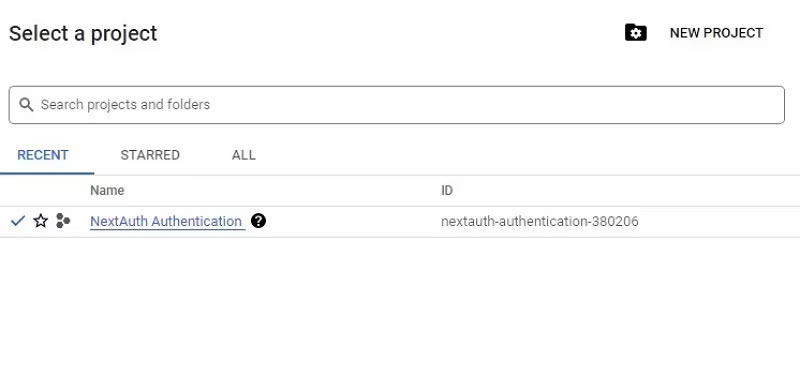
Để làm điều đó, hãy điều hướng đến Google Developer Console. Tiếp theo, đăng nhập bằng tài khoản Google của bạn để truy cập console. Sau khi đăng nhập, hãy tạo một dự án mới.
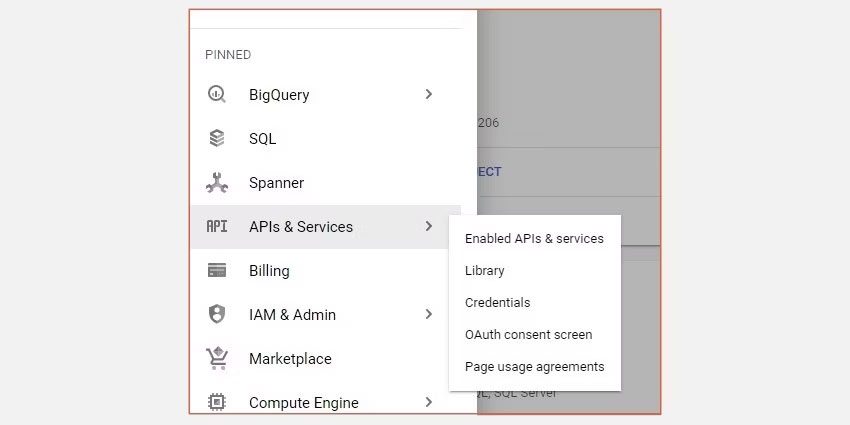
Trên trang tổng quan của dự án, chọn tab APIs and Services ở ngăn menu bên trái và cuối cùng là tùy chọn Credentials.
Nhấp vào nút Create Credentials để tạo Client ID và Client Secret. Tiếp theo, chỉ định loại ứng dụng từ các tùy chọn đã cho và sau đó cung cấp tên cho ứng dụng của bạn.

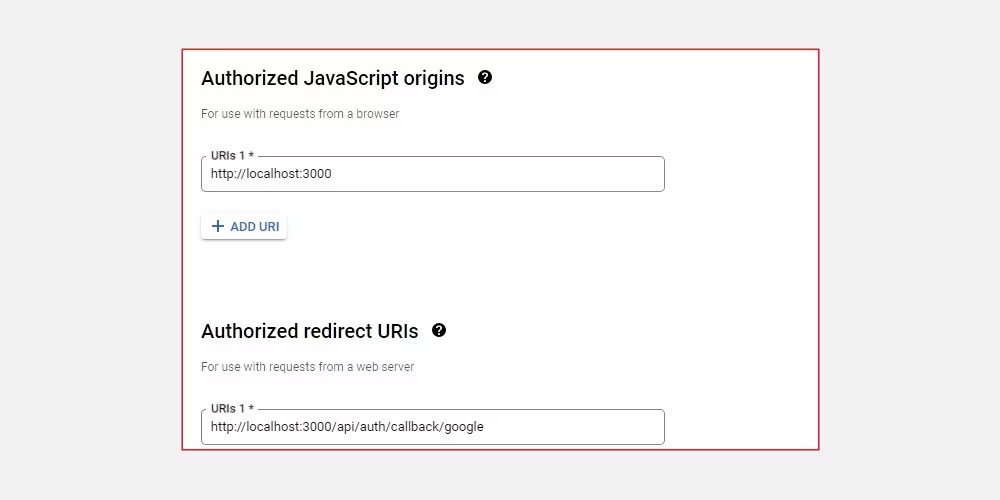
Sau đó, chỉ định URL quay về trang chủ của ứng dụng và cuối cùng chỉ định URI chuyển hướng được ủy quyền cho ứng dụng. Đối với trường hợp này, nó phải là http://localhost:3000/api/auth/callback/google như được chỉ định bởi cài đặt nhà cung cấp dịch vụ Google của NextAuth.
Sau khi đăng ký thành công, Google sẽ cung cấp cho bạn Client ID và Client Secret để sử dụng trong ứng dụng.
Thiết lập ứng dụng NextJS
Để bắt đầu, hãy tạo cục bộ một dự án Next.js:
npx create-next-app next-auth-app
Sau khi thiết lập hoàn tất, hãy điều hướng đến thư mục dự án mới được tạo và chạy lệnh này để khởi động server phát triển.
npm run dev
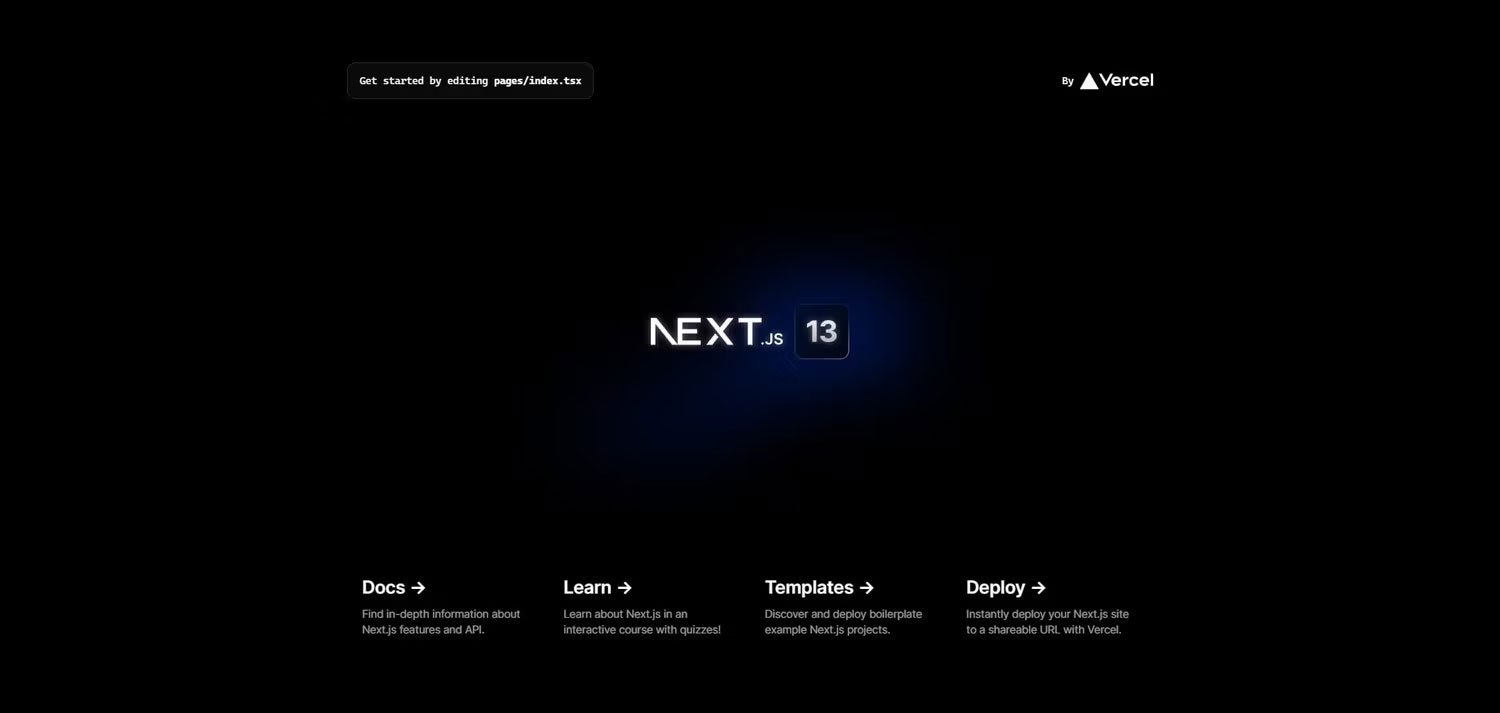
Mở trình duyệt và điều hướng đến http://localhost:3000. Kết quả mong đợi sẽ như sau.
Lưu ý: Bạn có thể tìm thấy code của dự án này trong kho lưu trữ GitHub của nó.
Thiết lập file .env
Trong thư mục root của dự án, hãy tạo một file mới và đặt tên là .env để chứa Client ID, Client Secret và URL cơ sở.
NEXT_PUBLIC_GOOGLE_CLIENT_ID= 'client ID'
NEXT_PUBLIC_GOOGLE_CLIENT_SECRET= 'secret'
NEXT_PUBLIC_NEXTAUTH_URL= 'http://localhost:3000'
URL NextAUTH được sử dụng để chỉ định URL cơ sở của ứng dụng, dùng để chuyển hướng người dùng sau khi xác thực hoàn tất.
Tích hợp NextAuth trong ứng dụng Next.js
Đầu tiên, hãy cài đặt thư viện của NextAuth vào dự án của bạn.
npm install next-auth
Tiếp theo, trong thư mục /pages, tạo một thư mục mới và đặt tên là api. Thay đổi thư mục thành thư mục api và tạo một thư mục khác có tên auth. Trong thư mục auth, thêm một file mới và đặt tên là [...nextauth].js và thêm các dòng code sau.
import NextAuth from "next-auth/next";
import GoogleProvider from "next-auth/providers/google";
export default NextAuth({
    providers:[
        GoogleProvider({
            clientId:process.env.NEXT_PUBLIC_GOOGLE_CLIENT_ID,
            clientSecret: process.env.NEXT_PUBLIC_GOOGLE_CLIENT_SECRET,
        }),
    ]

});
Code này cấu hình Google làm nhà cung cấp xác thực. Hàm NextAuth xác định đối tượng cấu hình nhà cung cấp Google có hai thuộc tính: Client ID và Client Secret khởi tạo nhà cung cấp.
Tiếp theo, mở file pages/_app.js và thực hiện các thay đổi sau đối với code.
import '../styles/globals.css'
import { SessionProvider } from "next-auth/react"
function MyApp({ Component, pageProps: { session, ...pageProps } }) {
 return (
   <SessionProvider session={session}>
     <Component {...pageProps} />
   </SessionProvider>
 )
}
export default MyApp
Thành phần SessionProvider của NextAuth cung cấp chức năng quản lý trạng thái xác thực cho ứng dụng Next.js. Cần một prop session hứa dữ liệu phiên xác thực được trả về từ API của Google, bao gồm các chi tiết người dùng như ID, email và token truy cập của họ.
Bằng cách gói thành phần MyApp với thành phần SessionProvider, đối tượng phiên xác thực với các chi tiết người dùng được cung cấp trong ứng dụng, cho phép ứng dụng duy trì và hiển thị các trang dựa trên trạng thái xác thực của chúng.
Cấu hình file index.js
Mở file pages/index.js, xóa code soạn sẵn và thêm code bên dưới để tạo nút đăng nhập định tuyến người dùng đến trang đăng nhập.
import Head from 'next/head'
import styles from '../styles/Home.module.css'
import { useRouter } from 'next/router';

export default function Home() {
  const router = useRouter();

  return (
    <div className={styles.container}>
      <Head>
        <title>Create Next App</title>
        <meta name="description" content="Generated by create next app" />
        <link rel="icon" href="/favicon.ico" />
      </Head>

      <main className={styles.main}>
        <h1 className={styles.title}>
          Welcome to <a href="https://nextjs.org">Next.js!</a>
        </h1>

        <p className={styles.description}>
          Get started by signing in{' '}
          <code className={styles.code}>with your Google Account</code>
          <button className={styles.loginButton}
          onClick={() => router.push('/Login')}> Login</button>
        </p>
      </main>

    </div>
  )
}
Code này sử dụng hook Next.js useRouter để xử lý định tuyến trong ứng dụng bằng cách xác định đối tượng router. Khi nhấp vào nút đăng nhập, hàm xử lý sẽ gọi phương thức router.push để chuyển hướng người dùng đến trang đăng nhập.
Tạo một trang xác thực đăng nhập
Trong thư mục pages, tạo một file Login.js mới, sau đó thêm các dòng code sau.
import { useSession, signIn, signOut } from "next-auth/react"
import { useRouter } from 'next/router';
import styles from '../styles/Login.module.css'
export default function Login() {
  const { data: session } = useSession()
  const router = useRouter();
  if (session) {
    return (
      <div className={styles.container}>
        <h1 className="title">Create Next App</h1>
        <div className={styles.content}>
             <h2> Signed in as {session.user.email} <br /></h2>
              <div classname={styles.btns}>
              <button className={styles.button} onClick={() => router.push('/Profile')}>
                 User Profile
             </button>
              <button className={styles.button} onClick={() => {
                  signOut()
              }}>
                 Sign out
             </button>
              </div>
        </div>
      </div>

    )
  }
  return (
    <div className={styles.container}>
       <h1 className="title">Create Next App</h1>
      <div className={styles.content}>
          <h2> You are not signed in!!</h2>
      <button className={styles.button}
      onClick={() => signIn()}>Sign in</button>
      </div>
    </div>
  )
}
useSession, signIn và signOut là các hook được cung cấp bởi next-auth. Hook useSession được sử dụng để truy cập đối tượng phiên người dùng hiện tại sau khi người dùng đăng nhập và được Google xác thực thành công.
Điều này cho phép Next.js duy trì trạng thái xác thực và kết xuất chi tiết người dùng ở phía client của ứng dụng, trong trường hợp này là email.
Ngoài ra, bằng cách sử dụng đối tượng phiên, bạn có thể dễ dàng tạo profile người dùng tùy chỉnh cho ứng dụng của mình và lưu trữ dữ liệu trong cơ sở dữ liệu như PostgreSQL. Bạn có thể kết nối cơ sở dữ liệu PostgreSQL với ứng dụng Next.js của mình bằng Prisma.
Hook signOut cho phép người dùng đăng xuất khỏi ứng dụng. Hook này sẽ xóa đối tượng phiên được tạo trong quá trình đăng nhập và người dùng sẽ bị đăng xuất.
Hãy tiếp tục và khởi động server phát triển để cập nhật các thay đổi và chuyển đến ứng dụng Next.js đang chạy trên trình duyệt nhằm kiểm tra chức năng xác thực.
npm run dev
Ngoài ra, bạn có thể sử dụng Tailwind CSS với ứng dụng Next.js của mình để tạo kiểu cho các mô hình xác thực.
