Cách thay đổi tên thư mục User Profile trong Windows 11
- Thứ ba - 14/11/2023 08:30
- In ra
- Đóng cửa sổ này
Khi bạn tạo tài khoản người dùng mới trong Windows 11, hệ điều hành sẽ tự động tạo thư mục User Profile mới trong C:\Users\Username. Tuy nhiên, tên thư mục User Profile mặc định này không phải lúc nào cũng như bạn muốn.
Theo mặc định, Windows sẽ sử dụng 5 ký tự đầu tiên trong tên tài khoản người dùng của bạn làm tên thư mục profile. Nếu không thích tên thư mục User Profile, bạn có thể thay đổi tên đó bằng cách chỉnh sửa registry. Bài viết sau đây sẽ hướng dẫn bạn cách thay đổi tên thư mục User Profile trong Windows 11.
Cách thay đổi tên thư mục User Profile bằng Registry Editor
Bạn có thể sửa đổi các mục registry được liên kết với tài khoản người dùng của mình để thay đổi tên thư mục User Profile trong Windows 11.
Quá trình này liên quan đến việc sửa đổi các mục registry của bạn, vì vậy bài viết khuyên bạn nên tạo điểm khôi phục. Bạn có thể sử dụng điểm khôi phục để khôi phục PC của mình nếu có sự cố xảy ra trong quá trình này.
Để thay đổi tên thư mục User Profile:
1. Đăng xuất khỏi tài khoản người dùng hiện tại của bạn và đăng nhập bằng tài khoản admin tích hợp hoặc mới tạo
2. Tiếp theo, nhấn Win + R để mở hộp thoại Run.
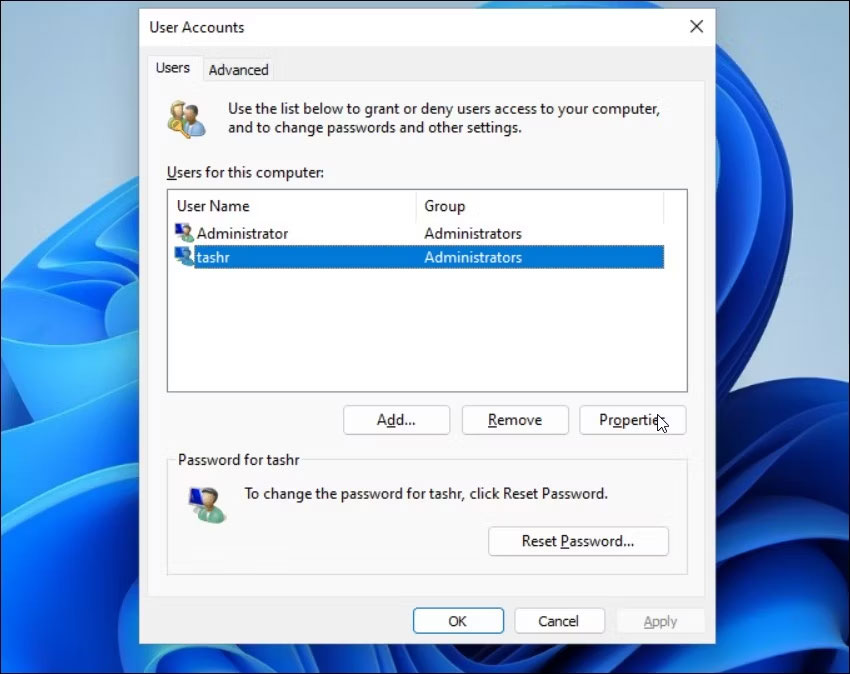
3. Gõ netplwiz và nhấn OK để mở hộp thoại User Accounts.
4. Tại đây, chọn tài khoản người dùng của bạn và nhấp vào Properties.
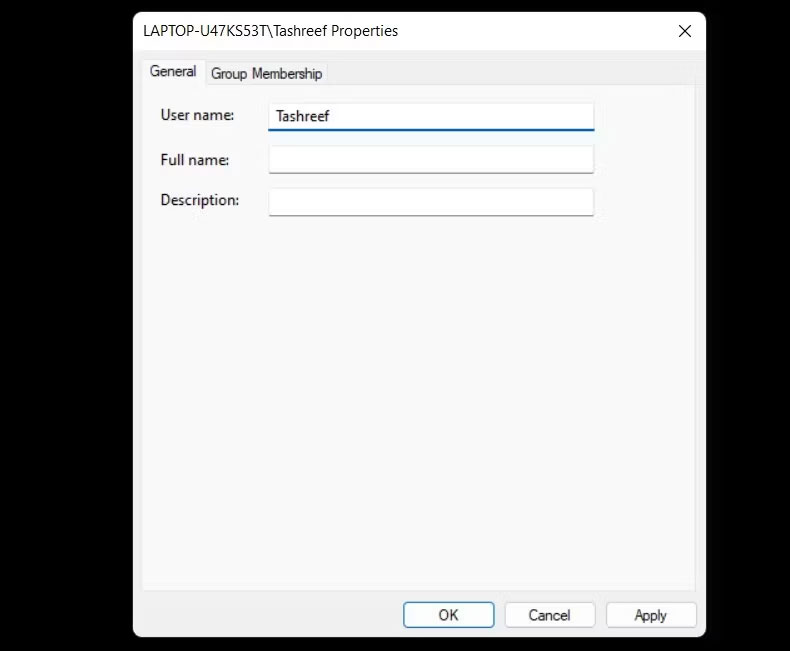
5. Trong hộp thoại User Properties, bạn sẽ thấy User name và Full name của mình.
6. Nhập tên cho tên người dùng của bạn, nhấp vào OK > Apply.
7. Đóng hộp thoại User Account và thực hiện khởi động lại.
8. Tiếp theo, mở Command Prompt. Để thực hiện việc này, nhấn Win + R, nhập cmd và nhấp vào OK.
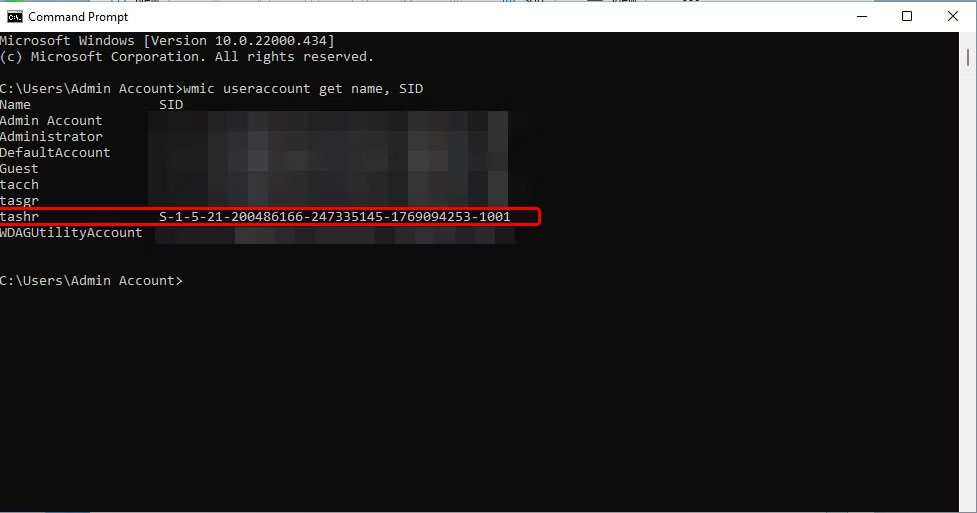
9. Trong cửa sổ Command Prompt, gõ lệnh sau để xem SID (Security Identifier) cho tất cả tài khoản người dùng:
wmic useraccount get name,SID
10. Tại đây, hãy lưu ý SID cho tài khoản người dùng bạn muốn thay đổi tên thư mục User Profile. Trong trường hợp này, SID cho tên người dùng tashr là S-1-5-21-200486166-247335145-1769094253-1001.
Bây giờ, bạn đã có SID. Bạn phải nhập nó vào Registry Editor. Để làm điều đó, hãy làm theo các bước sau:
1. Nhấn Win + R, gõ regedit và bấm OK để mở Registry Editor.
2. Trong Registry Editor, điều hướng đến vị trí sau:
HKEY_LOCAL_MACHINE\SOFTWARE\Microsoft\Windows NT\CurrentVersion\ProfileList
3. Bên trong key ProfileList, xác định vị trí và nhấp vào tên key giống với SID mà bạn đã lưu ý trước đó.
4. Ở bên phải, nhấp chuột phải vào giá trị ProfileImagePath và chọn Modify.

5. Nhập tên bạn muốn cho thư mục profile và nhấp vào OK.

6. Đóng cửa sổ Registry và Command Prompt nếu mở.
7. Tiếp theo, nhấn Win + E để mở File Explorer và điều hướng đến C:\Users\.
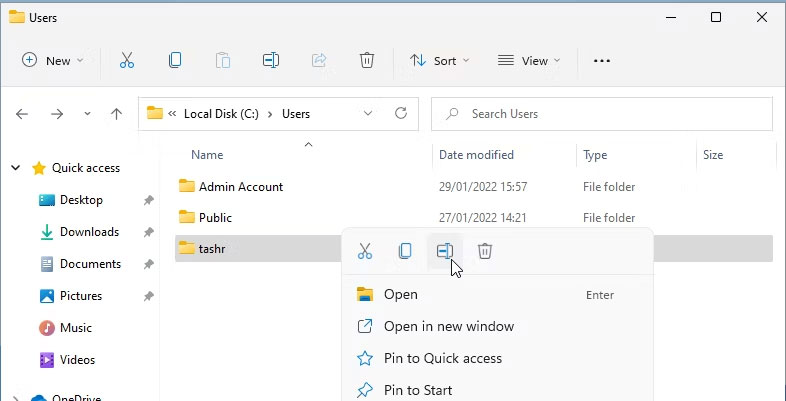
8. Chọn User Profile của bạn và nhấn F2 để đổi tên nó. Nhập tên mới cho User Profile (tên này phải khớp với tên người dùng đã nhập trong Registry Editor).
9. Nhấp Continue để lưu thay đổi.
Đôi khi bạn có thể gặp phải lỗi "You can’t perform this action" khi đổi tên thư mục. Lỗi này thường xảy ra nếu bạn chuyển sang tài khoản admin khác mà không đăng xuất khỏi tài khoản người dùng chính. Ngoài ra, hãy khởi động lại PC của bạn và lặp lại các bước để đổi tên thư mục User Profile mà không gặp lỗi.
Tiếp theo, đăng xuất khỏi tài khoản hiện tại của bạn và đăng nhập vào tài khoản người dùng bằng tên thư mục người dùng mới. Mở File Explorer và điều hướng đến C:\Users\ và bạn sẽ có thể sử dụng profile trước đó với tên đường dẫn mới.
