Cách dùng Explorer Patcher, công cụ đưa Taskbar Windows 10 lên Windows 11
- Thứ hai - 18/10/2021 00:56
- In ra
- Đóng cửa sổ này
Nếu bạn đang tìm cách đưa Taskbar và File Explorer trở lại hành vi giống như trên Windows 10 thì công cụ miễn phí Explorer Patcher này là dành riêng cho bạn. Bạn chỉ cần thêm một file DLL vào thư mục C:\Windows rồi restart lại Explorer.exe và chờ một lát là mọi thứ đã sẵn sàng.
Người phát triển ra Explorer Patcher tuyên bố rằng dự án này có mục đích giúp mọi người tăng năng suất làm việc trên Windows 11.
Các tính năng của Explorer Patcher:
Taskbar:
- Đưa trở lại các tùy chọn gộp biểu tượng ứng dụng "always combine"/"combine when full"/"never combine" trên cả Taskbar chính và phụ
- Loại bỏ nút Search
- Loại bỏ nút Task View
- Cùng một số tính năng khác...
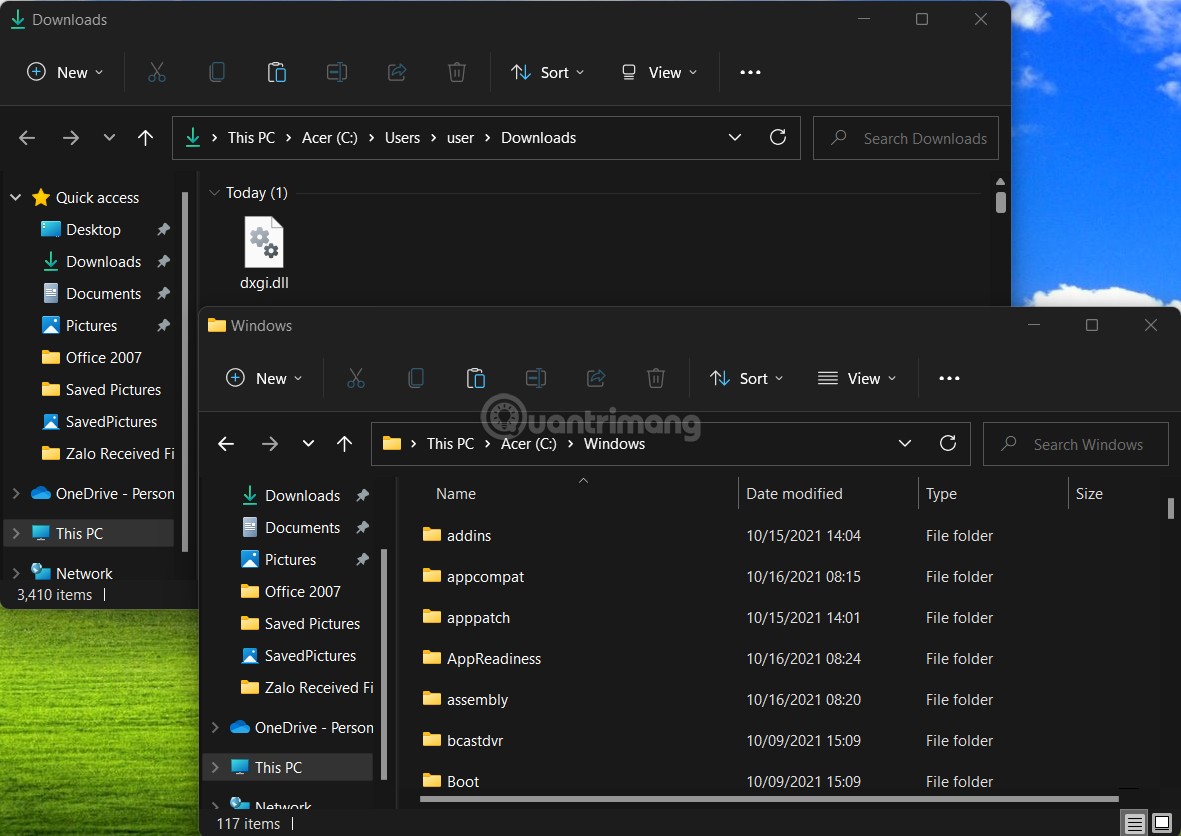
File Explorer:
- Vô hiệu hóa thanh điều khiển Windows 11
- Vô hiệu hóa menu ngữ cảnh Windows 11
- Cùng một số tùy chọn khác...
Cùng một số tùy chỉnh, tùy chọn khác cho Start Menu, Windows switcher (Alt+Tab)...
Cách cài đặt Explorer Patcher
Do cần tải file nên bạn phải đảm bảo rằng máy của mình có kết nối internet ổn định trong suốt quá trình cài đặt.
B1: Đầu tiên, bạn cần truy cập vào link dưới đây để tải về file DLL có tên dxgi.dll. Theo nhà phát triển, Explorer Patcher hoạt động ổn định trên bản Windows 11 chính thức. Tuy nhiên, thử nghiệm của Quản Trị Mạng cho thấy ngay cả bản Dev mới nhất cũng vẫn chạy được bình thường:
- Link tải file DLL của Explorer Patcher chính thức:
- Link tải file DLL từ Quản Trị Mạng:
Lưu ý: Với file ZIP tải từ Quản Trị Mạng bạn cần giải nén để thấy file dxgi.dll.
B2: Sau khi tải file DLL, bạn copy và paste file vào thư mục C:\Windows. Thao tác này yêu cầu bạn phải có quyền Administrator.
B3: Bạn thởi động lại Explorer.exe theo hướng dẫn sau:
- Hướng dẫn khởi động lại Explorer.exer:
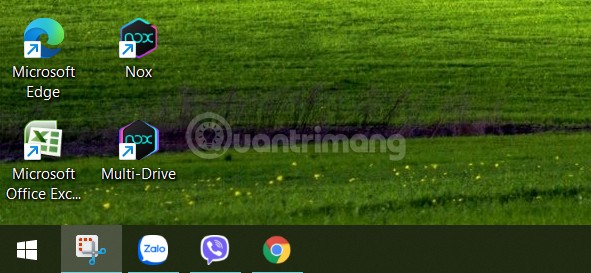
B4: Ở bước này, bạn phải chờ hệ thống tự tải về các file cần thiết từ Microsoft. Sau khi tải xong Explorer.exe sẽ tự khởi động lại một lần nữa và Taskbar với Start menu của Windows 10 sẽ hiện ra.
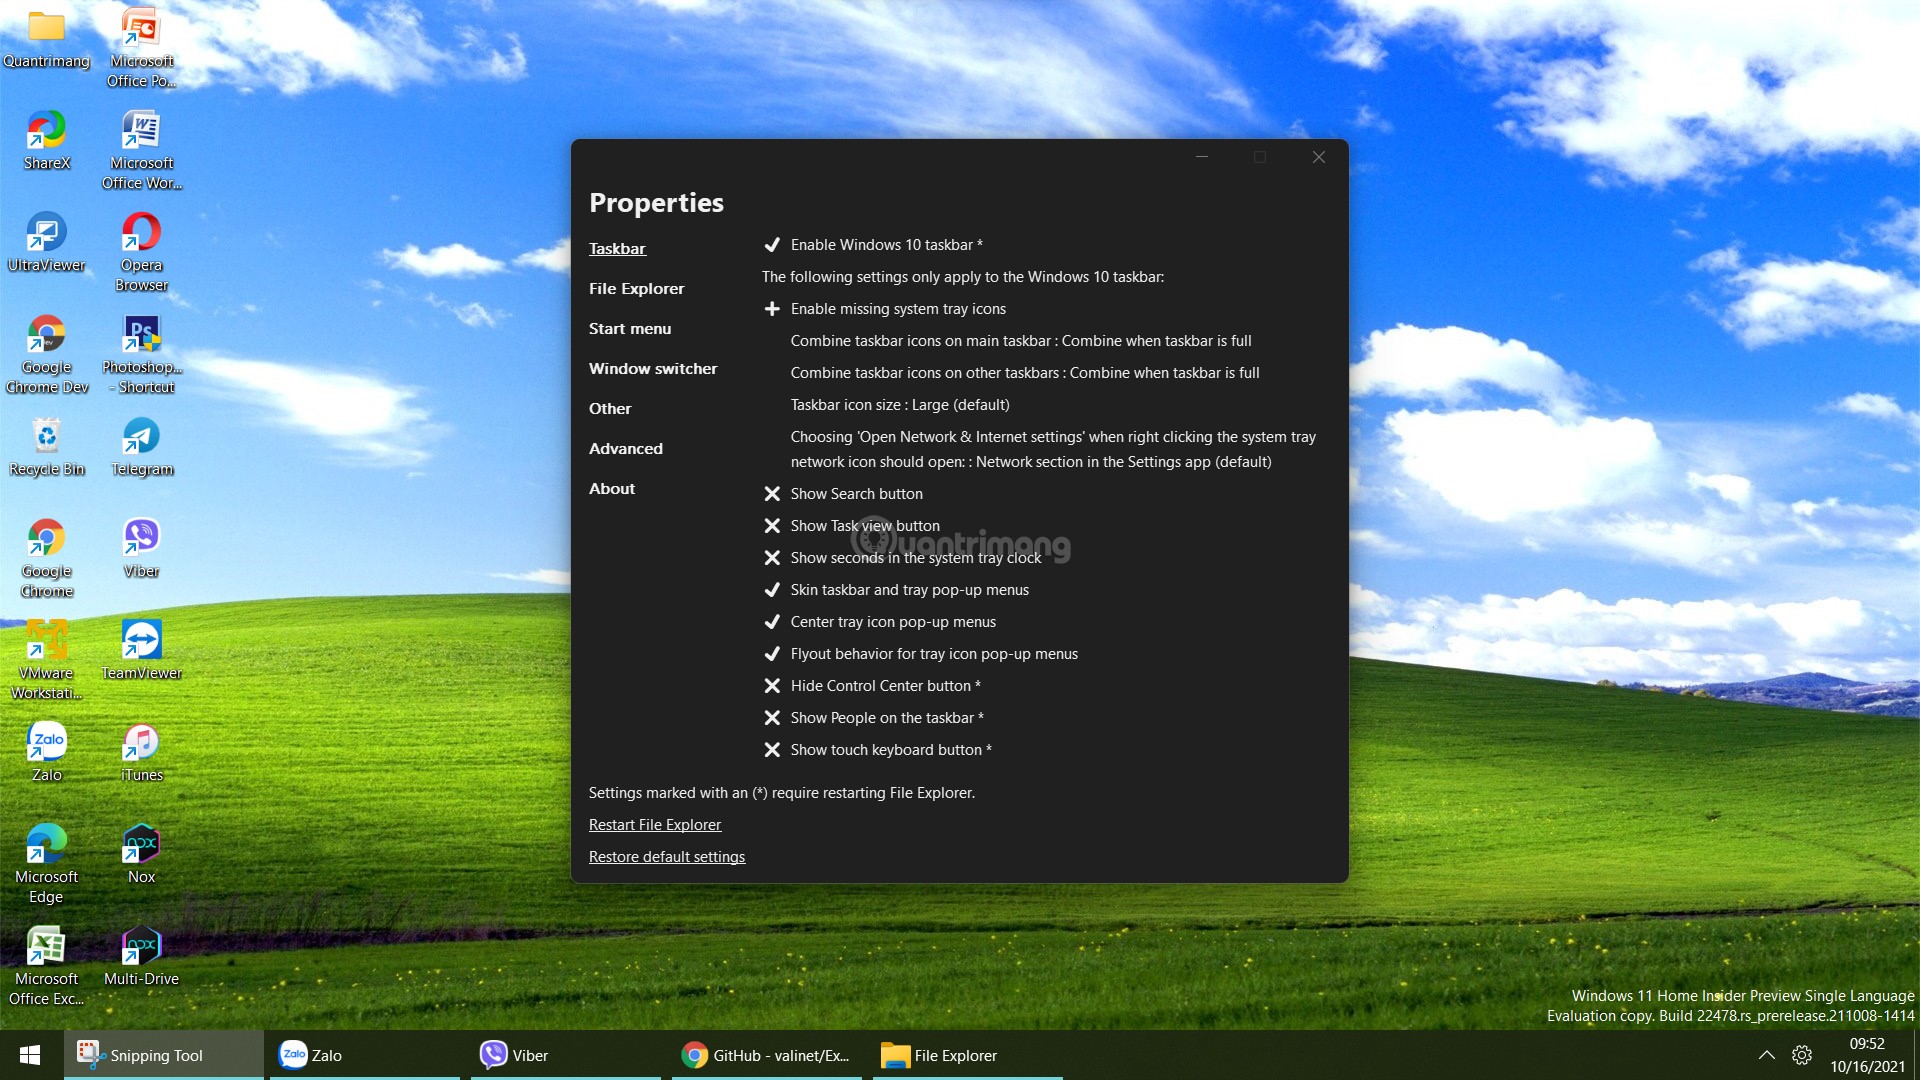
B5: Bạn cần cấu hình lại một chút cho phù hợp với nhu cầu. Để cấu hình Explorer Patcher bạn cần truy cập vào cài đặt của công cụ này bằng cách nhấn chuột phải vào nút Start (hoặc nhấn Win + X) sau đó chọn Properties.
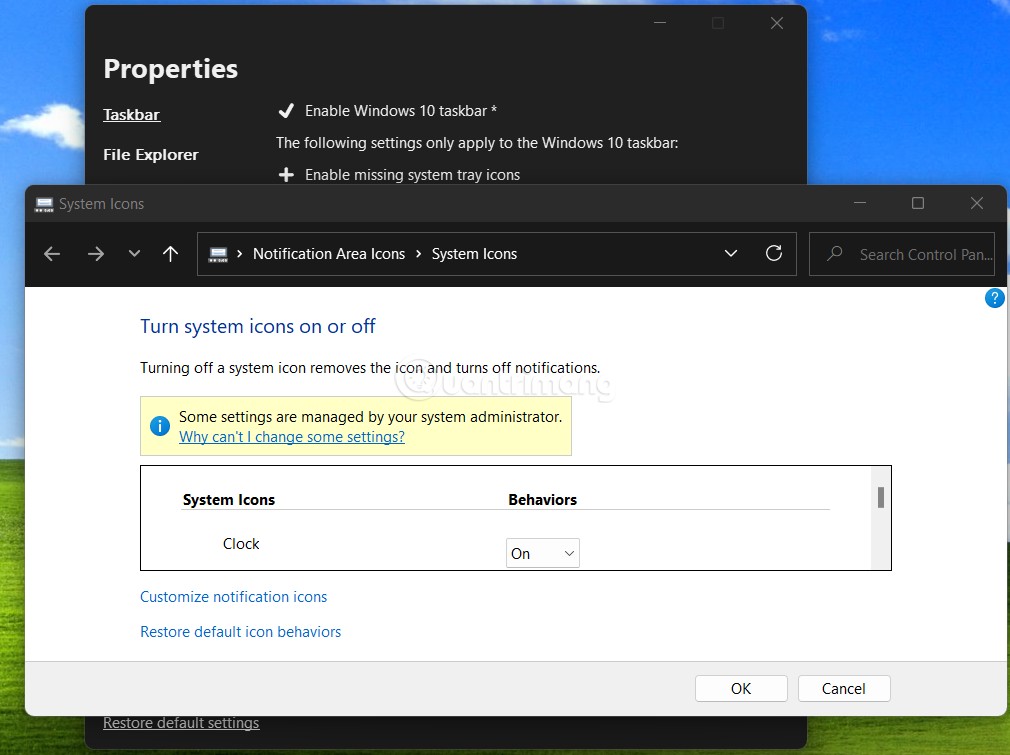
B6: Trong giao diện này, bạn có thể hiển thị biểu tượng đồng hồ và ngày tháng bị thiếu trên Taskbar bằng cách nhấn vào Enable missing system tray icons. Trong cửa sổ mới hiện lên bạn chọn On ở phần Clock.
B7: Bạn có thể tùy chỉnh gộp nhóm cho các biểu tượng ứng dụng bằng cách nhấp vào Combine taskbar icons on maint taskbar.
Explorer Patcher còn rất nhiều tính năng thú vị khác mà các bạn có thể tự mình khám phá. Các bạn cũng có thể kết hợp với các công cụ khác như TaskbarX.
Tham khảo thêm về Explorer Patcher:
- Trang GitHub của dự án Explorer Patcher:
Cách gỡ Explorer Patcher
Để gỡ bỏ Explorer Patcher và trở về Taskbar và Start Menu bình thường của Windows 11 thì trước tiên bạn cần đưa Taskbar về vị trí bên dưới màn hình (nếu như bạn đã đổi vị trí của nó).
Tiếp theo, bạn đổi tên file DLL trong thư mục C:\Windows từ dxgi.dll thành dxgio.dll. Sau đó, bạn khởi động lại máy và xóa file dxgio.dll đi. Bạn cũng có thể xóa cả thư mục %appdata%\ExplorerPatcher để đảm bảo trải nghiệm trở lại bình thường.
Chúc các bạn thành công!
