Cách chèn file Word, Excel trong PowerPoint
- Thứ ba - 08/03/2022 22:52
- In ra
- Đóng cửa sổ này
Chèn Excel vào PowerPoint có rất nhiều cách thực hiện khác nhau dưới dạng nhiều kiểu đối tượng chèn, chẳng hạn bạn chèn Excel vào PowerPoint dưới dạng file, hoặc chèn biểu đồ Excel vào PowerPoint. Tùy theo yêu cầu muốn xem luôn nội dung Excel trong PowerPoint hay không mà bạn lựa chọn cách thực hiện phù hợp. Bài viết dưới đây sẽ hướng dẫn bạn chèn Excel vào PowerPoint.
1. Cách chèn Excel vào PowerPoint theo vùng
Bước 1:
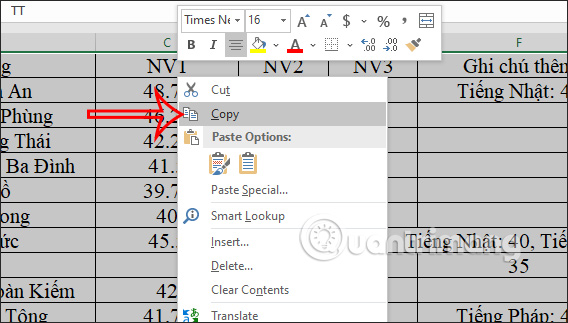
Bạn mở file Excel và PowerPoint sau đó tại file Excel, bạn bôi đen vùng muốn chèn vào PowerPoint. Tiếp đến nhấn chuột phải và chọn Copy trong danh sách hiển thị.
Bước 2:
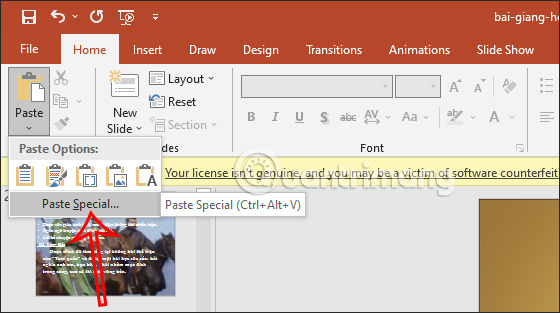
Mở slide PowerPoint rồi nhấn vào trang cần chèn file Excel. Tiếp đến bạn nhìn xuống bên dưới tại tùy chọn Paste nhấn vào Paste Special để mở rộng tùy chọn paste vào Excel.
Bước 3:
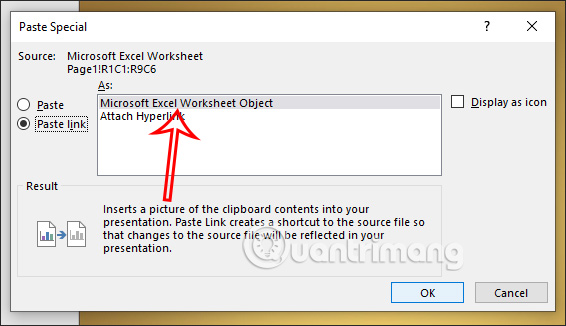
Lúc này hiển thị giao diện để bạn lựa chọn cách chèn file Excel vào PowerPoint. Tại đây bạn nhấn chọn vào Paste link rồi chọn tiếp Microsoft Excel Worksheet Object. Sau đó bạn nhấn OK để thực hiện chèn file Excel vào slide.
Kết quả, vùng Excel được hiển thị ngay trong slide như hình dưới đây. Bạn có thể thay đổi vị trí, kích thước của vùng dữ liệu này tùy thích.
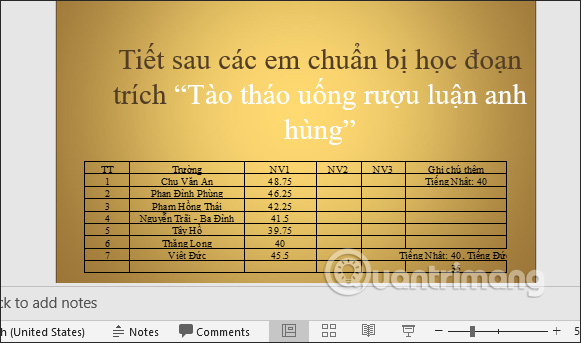
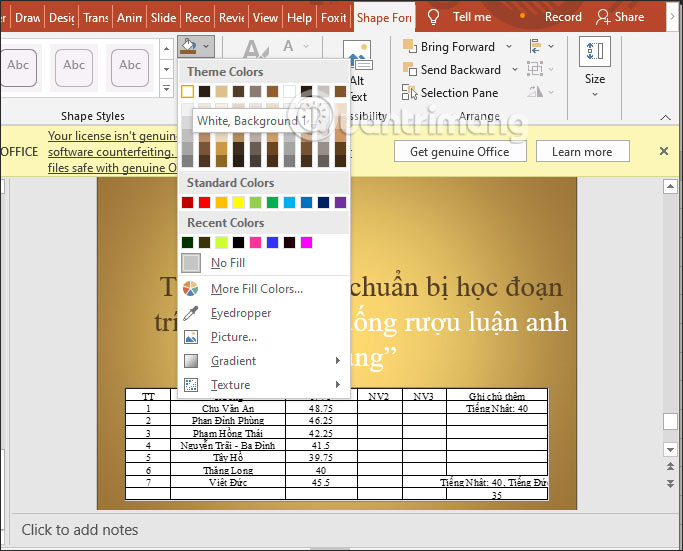
Ngoài ra chúng ta có thể đổi giao diện của vùng dữ liệu này dưới dạng shape.
Với tùy chọn chèn Paste link này thì dữ liệu trên slide sẽ được liên kết với file Excel. Bất kỳ thay đổi gì trong file Excel cũng sẽ được cập nhật liên trong PowerPoint, nhưng không thể chỉnh sửa trong PowerPoint được.
2. Hướng dẫn chèn biểu đồ Excel vào PowerPoint
Với biểu đồ Excel thì bạn cũng có thể dễ dàng chèn vào trong slide PowerPoint.
Bước 1:
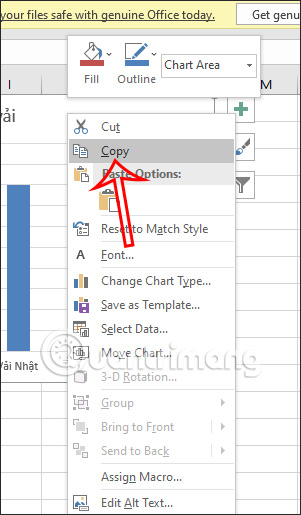
Đầu tiên tại file Excel chúng ta tiến hành tạo biểu đồ từ dữ liệu có sẵn như bình thường. Tiếp đến, nhấn chuột phải vào biểu đồ và chọn Copy trong danh sách hiển thị.
Bước 2:
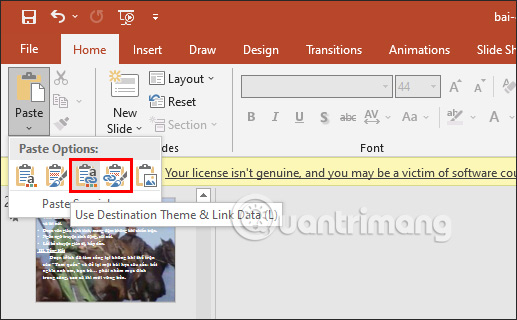
Tại slide muốn chèn biểu đồ Excel bạn cũng nhấn vào biểu tượng mũi tên tại tùy chọn Paste rồi lựa chọn 1 trong 2 kiểu paste biểu đồ là Use Destination Theme & Link Data (L) hoặc Keep Source Formatting & Link Data (F).
Với tùy chọn Use Destination Theme & Link Data (L) thì biểu đồ theo chủ đề đang chọn cho bản trình bày. Keep Source Formatting & Link Data (F) giữ lại giao diện của tệp Excel gốc.
Kết quả biểu đồ đã hiển thị trong slide PowerPoint như hình.
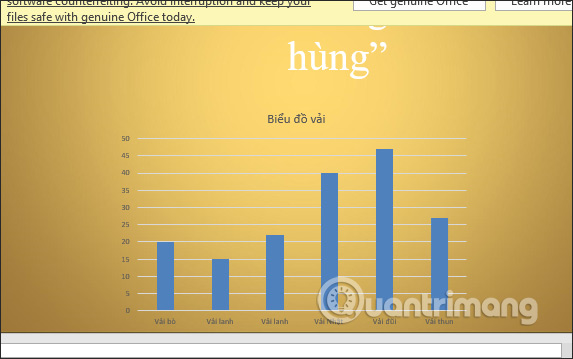
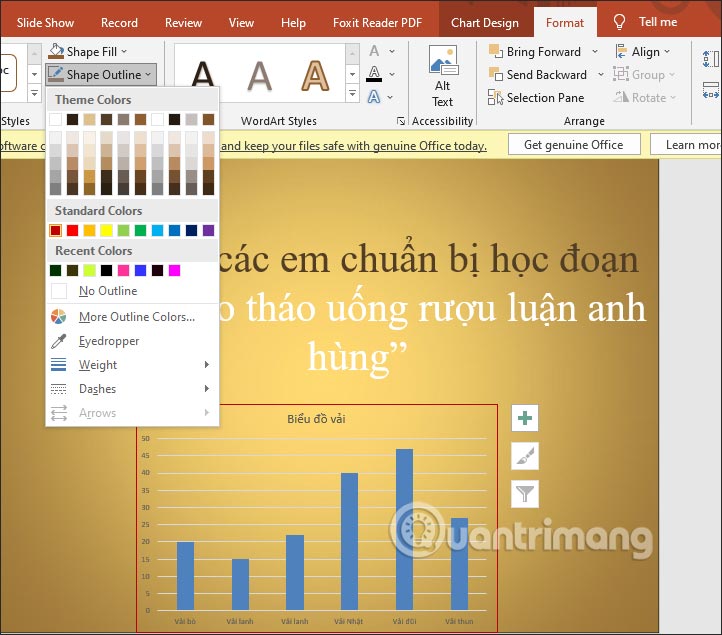
Bạn cũng có thể thay đổi vị trí, kích thước và màu sắc nền và viền cho sơ đồ.
Bước 3:
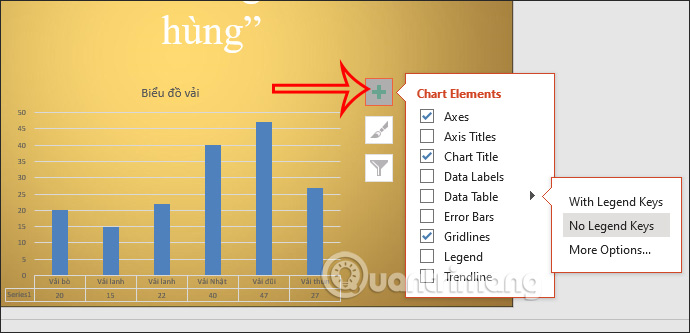
Ngoài ra khi nhấn vào dấu cộng trong biểu đồ thì bạn cũng có thêm những lựa chọn thay đổi hiển thị số liệu của biểu đồ như hình dưới đây.
Bước 4:
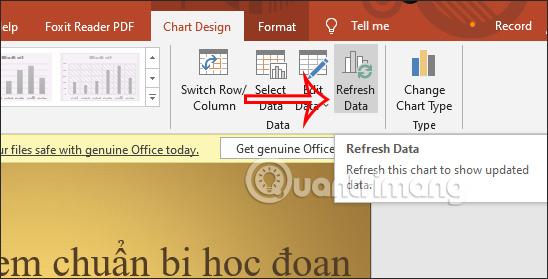
Để chỉnh sửa dữ liệu biểu đồ Excel thì bạn cần nhấn chuột phải vào biểu đồ, chọn Edit Data > Edit Data In Excel.
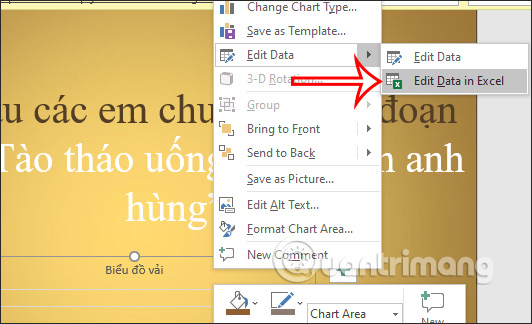
Sau đó bạn tiến hành thay đổi số liệu và biểu đồ Excel trong PowerPoint tự động thay đổi. Trong trường hợp những thay đổi không áp dụng trên biểu đồ PowerPoint, bạn nhấn Chart Design rồi chọn Refresh Data. Như vậy dữ liệu mới nhất sẽ được cập nhật.
3. Hướng dẫn chèn file vào PowerPoint
Bước 1:
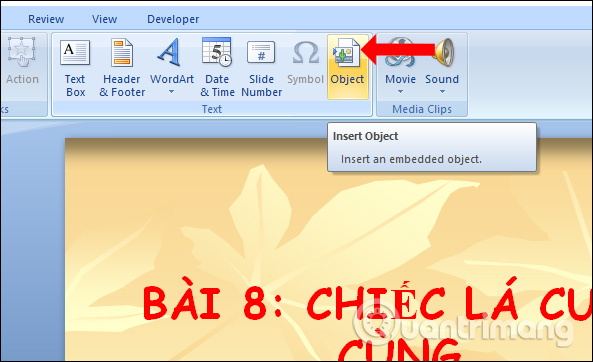
Người dùng mở silde thuyết trình trên PowerPoint. Click chuột vào slide cần đính kèm nội dung, nhấn tiếp vào Insert rồi chọn Object.
Bước 2:
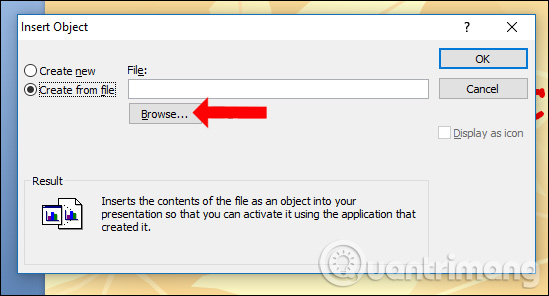
Hiển thị hộp thoại Insert Object, click chuột vào Create from file và click tiếp vào nút Browse.
Bước 3:
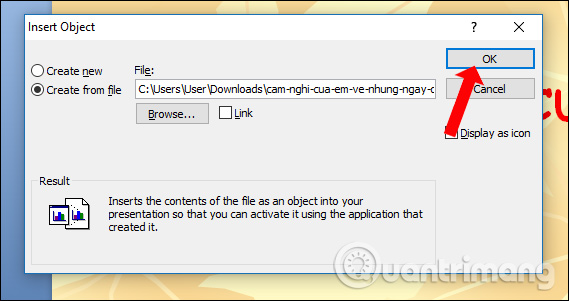
Tìm tới file Word hay file Excel mà người dùng muốn đính kèm vào slide. Hiện thỉ đường dẫn lưu trữ file trong hộp thoại, nhấn OK để tiếp tục.
Khi đó nội dung file đính kèm sẽ hiển thị trong giao diện riêng biệt với nội dung của slide và xuất hiện ở giữa slide. Người dùng có thể thay đổi kích thước, thu nhỏ hoặc kéo giãn để chính kích thước phù hợp.

Để xem toàn bộ nội dung của file đính kèm với kích thước lớn thì bạn chỉ cần click đúp chuột vào file đính kèm đó là được. Chúng ta thực hiện thao tác lăn chuột để xem nội dung như bình thường.

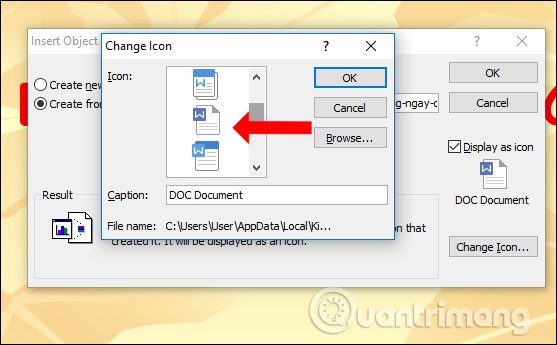
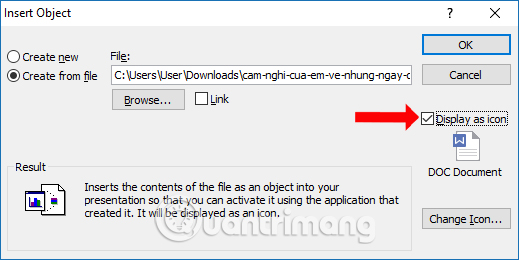
Trong trường hợp người dùng muốn làm gọn cho slide thuyết trình có đính kèm tập tin khác, thì có thể chuyển file thành dạng icon. Mở lại hộp thoại Insert Object, tích chọn vào tùy chọn Display as icon để hiển thị bằng icon.
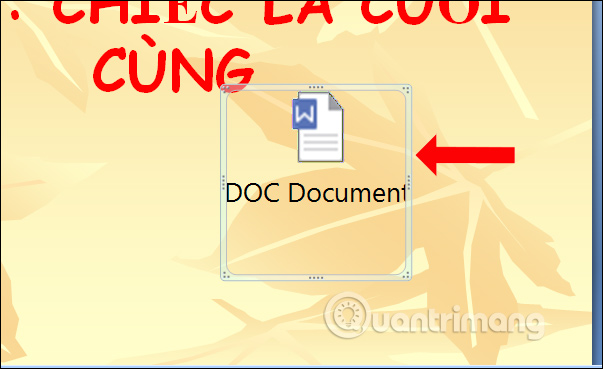
Lúc này file sẽ hiển thị icon bên dưới. Nếu muốn thay đổi biểu tượng cho file đính kèm nhấn vào Change icon.
Chúng ta có thể lựa chọn những biểu tượng có sẵn hoặc nhấn nút Browse để thay đổi sang icon khác nếu muốn.
Kết quả file đính kèm sẽ hiển thị dưới dạng biểu tượng như dưới đây. Khi click chuột vào biểu tượng, nội dung của file sẽ hiển thị ngay sau đó.
Về cơ bản thao tác chèn file đính kèm trên các công cụ Office là như nhau, đều cần truy cập vào mục Object để mở file đính kèm. Nếu muốn tạo tính thẩm mỹ cho slide PowerPoint thì người dùng nên sử dụng tùy chọn hiển thị file bằng biểu tượng.
