Cách cấu hình cho nhiều User cùng kết nối từ xa vào Windows Server 2016 bằng Remote Desktop
- Thứ ba - 22/06/2021 00:56
- In ra
- Đóng cửa sổ này
Với Remote Desktop Connection, người dùng Windows có thể dễ dàng kết nối và làm việc từ xa. Tuy nhiên, nếu muốn cho phép nhiều người kết nối cùng lúc vào một máy tính Windows Server thì phải làm như thế nào?
Trong bài viết này sẽ hướng dẫn bạn cách cấu hình cho nhiều User cùng kết nối từ xa vào Windows Server 2016 bằng Remote Desktop.
Bước 1: Tạo tài khoản và cho phép quyền truy cập Remote Desktop
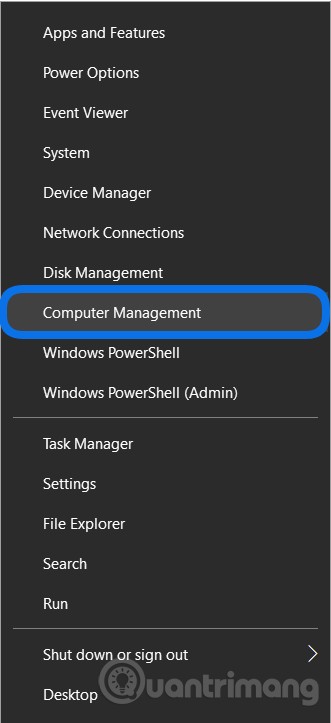
- Bạn cần nhấp chuột phải vào nút Start sau đó chọn Computer Management
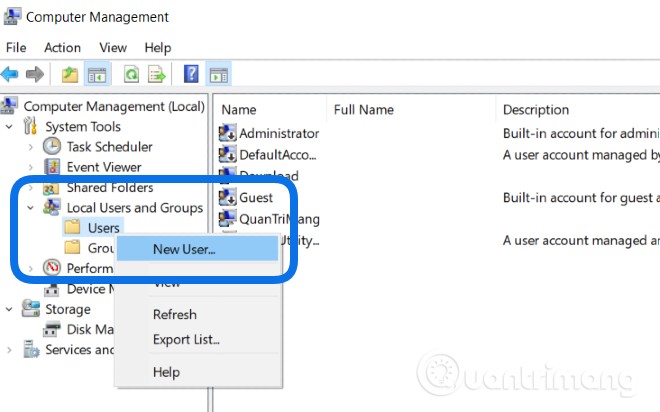
- Sau đó, bạn cọn Local Users and Group, nhấp chuột phải vào User rồi chọn New User
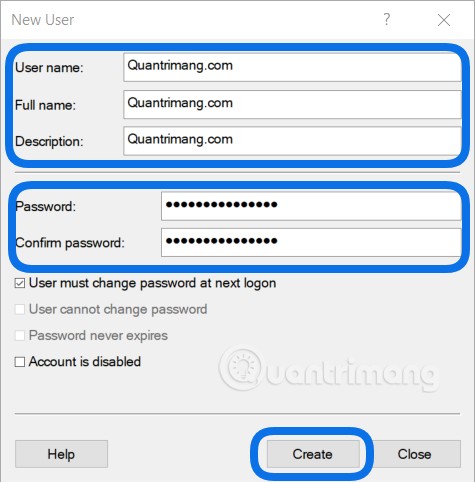
- Bạn tạo tài khoản đăng nhập với đầy đủ thông tin như User name, Password rồi tích vào các lựa chọn cho phép User đổi password hay không. Nhấn Create
- Tiếp theo, bạn cần cấu hình để cho phép User vừa tạo được phép kết nối vào Windows Server qua Remote Desktop. Nhấn Windows + I để mở Settings sau đó chọn System
- Nhấn vào About ở thanh bên trái rồi kéo xuống ở thanh bên phải để chọn Advanced system setting. Nếu dùng Control Panel bạn cần truy cập System > Advanced system setting

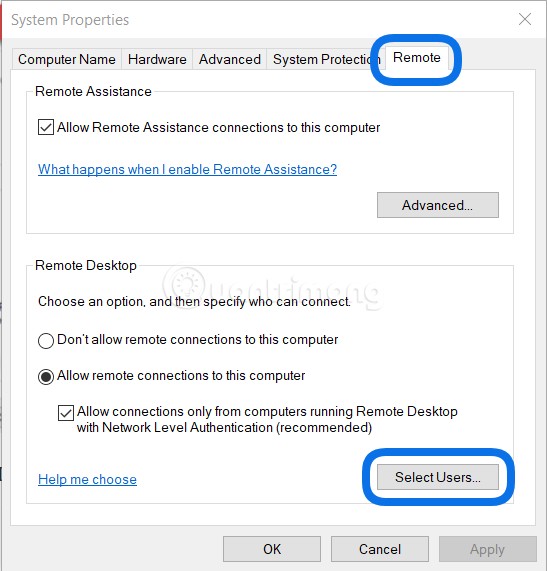
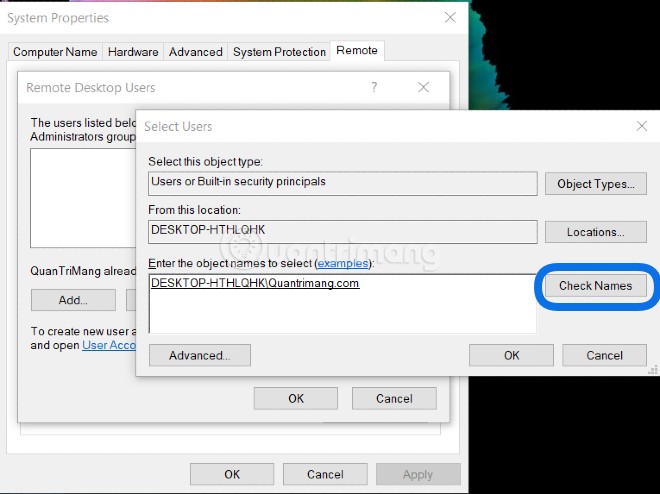
- Trong cửa sổ mới hiện ra, bạn nhấn thẻ Remote rồi nhấn nút Select Users...
- Bạn nhấn nút Add để thêm User được phép Remote Desktop vào. Bạn chỉ cần gõ đúng tên User vừa tạo sau đó nhấn Check Names là hệ thống sẽ tự tìm ra tài khoản với đường dẫn chuẩn như hình. Bạn nhấn OK để xác nhận chọn tài khoản
- Sau đó danh sách tài khoản được phép kết nối sẽ hiện ra
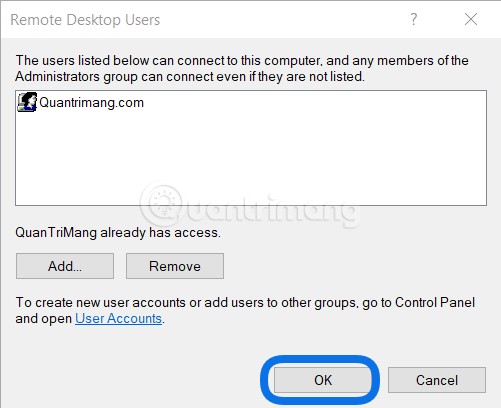
- Ở phần này, bạn hãy đảm bảo rằng đã chọn tại mục Allow connections only from computers...

Bước 2: Cho phép nhiều User cùng truy cập bằng Remote Desktop
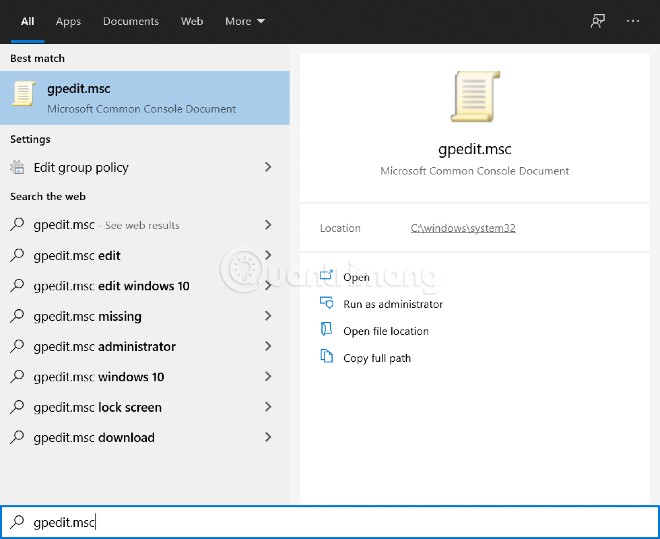
- Đầu tiên, bạn nhấn nút Start sau đó nhập gpedit.msc rồi nhấn đúp vào để chọn/mở
- Bạn tìm lần lượt tới Computer Configuration => Administrative Templates => Windows Components

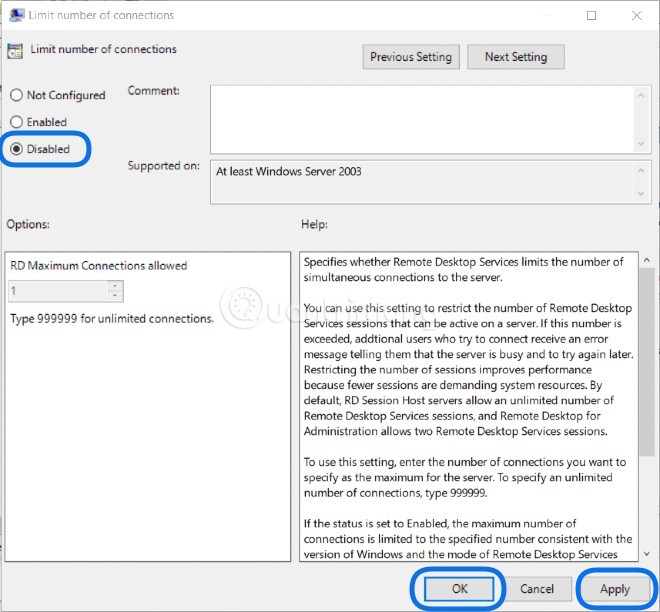
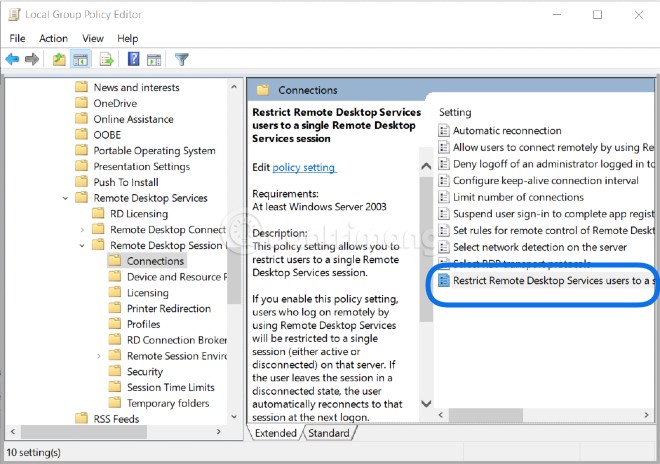
- Tiếp tục truy cập tới Remote Desktop Services => Remote Desktop Session Host => Connections rồi chuyển sang bên phải tìm kiếm mục Limit number of connections, nhấp đúp để mở
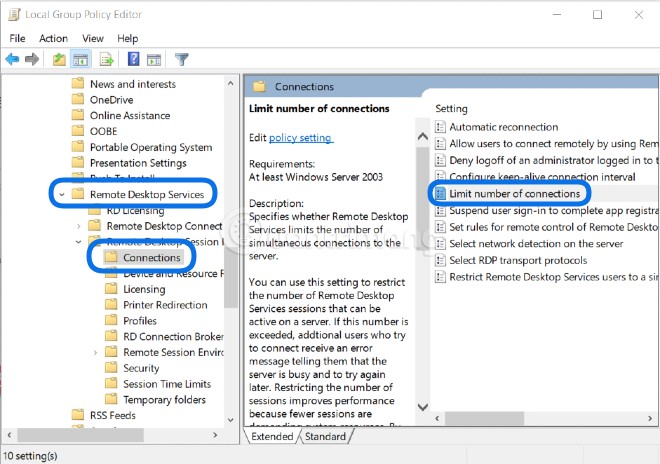
- Chọn Disable rồi nhấn OK để không giới hạn số người dùng truy cập. Ngoài ra, bạn cũng có thể chọn Enable để nhập số lượng người được phép truy cập ở phần RD Maximum Connections allowed. Chọn xong bạn nhấn Apply => OK để lưu
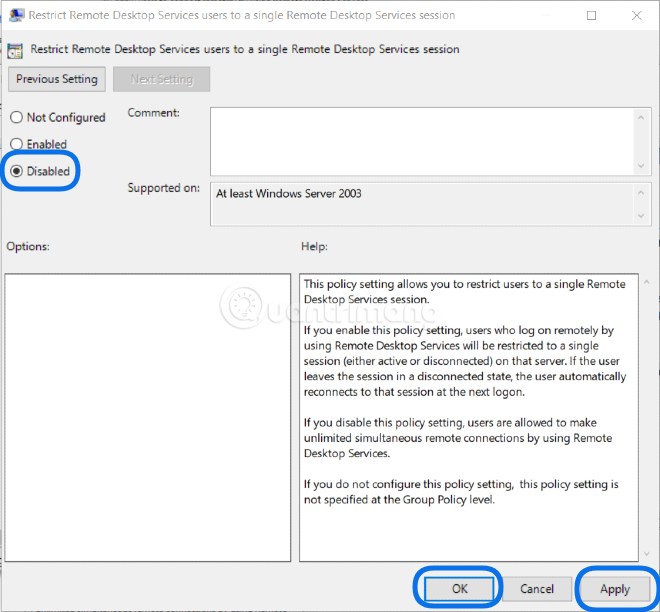
- Tiếp tục chọn và mở Restrict Remote Desktop Services...
- Chọn Disable rồi nhấn Apply => OK
Bước 3: Đăng ký dịch vụ để có thể cho phép nhiều hơn 2 User có thể truy cập Remote Desktop
Phần này được thực hiện trên Windows Server 2016.
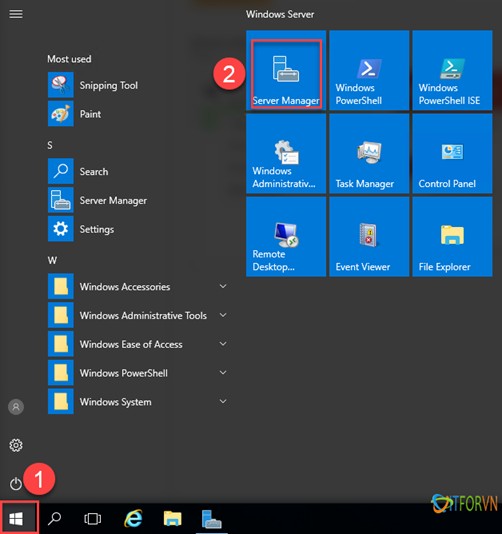
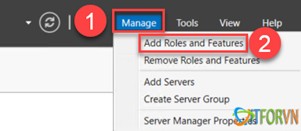
- Bạn nhấn Start rồi chọn Server Manager
- Tiếp theo, trên góc phải cửa sổ Server Manager bạn chọn Manage => Add Roles and Features
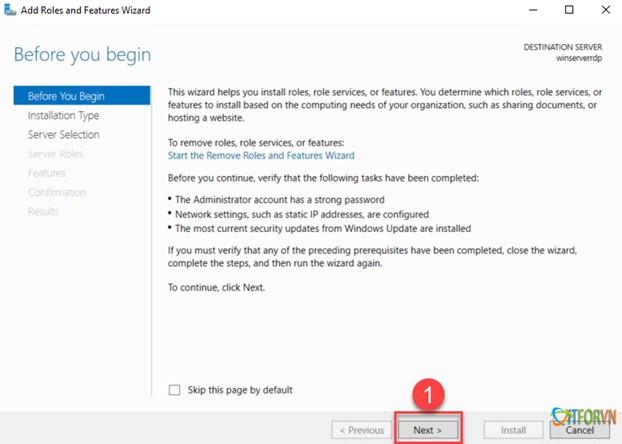
- Ở cửa sổ mới này bạn nhấn Next để tiếp tục
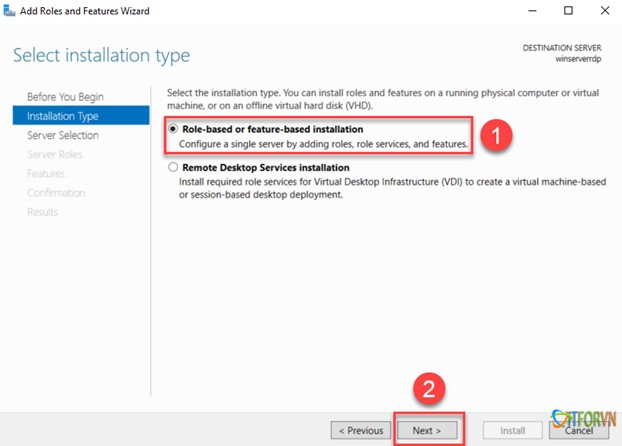
- Bạn chọn Role-based or feature-based installation rồi nhấn Next
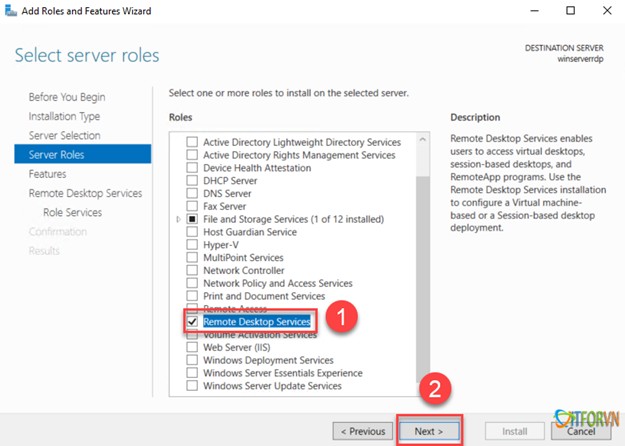
- Bạn tick chọn Remote Desktop Services và tiếp tục nhấn Next
- Nhấn Next
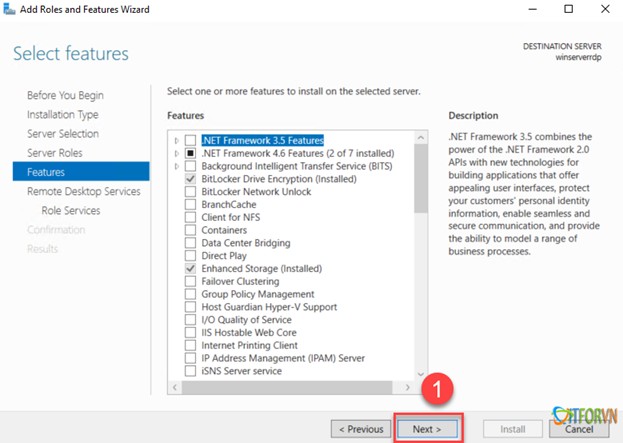
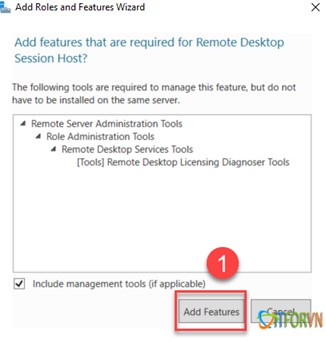
- Bạn tick chọn 3 dịch vụ là: Remote Desktop Connection Broker, Remote Desktop Licensing, Remote Desktop Session Host. Sau mỗi lần tick sẽ có một bảng xác nhận hiện ra bạn hãy nhấn Add features

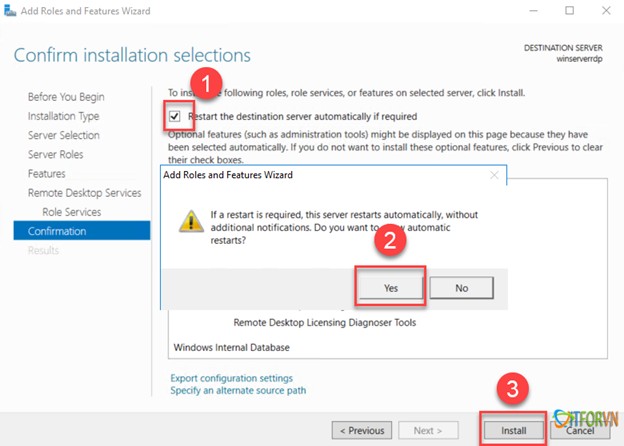
- Bạn hãy tick vào Restart the destination server... để tự khởi động lại máy chủ sau khi cài xong dịch vụ. Nhấn Yes để xác nhận sau đó nhấn Install
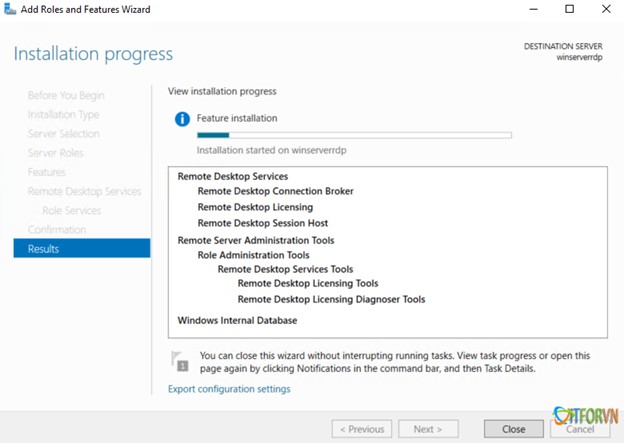
- Bạn chờ máy chủ cài đặt xong và khởi động lại là hoàn thành thiết lập và có thể kết nối trên 2 máy tính qua Remote Desktop vào Windows Server 2016.
Chúc các bạn thành công!
