Cách cài đặt Microsoft Works trên Windows 10/11
- Thứ sáu - 06/10/2023 09:45
- In ra
- Đóng cửa sổ này
Microsoft Works là bộ ứng dụng office đã ngừng phát triển, được Microsoft thay thế bằng MS Office Stater vào năm 2010. Works là một giải pháp thay thế rẻ hơn cho Microsoft Office. Bộ phần mềm đó kết hợp các ứng dụng xử lý văn bản, bảng tính và cơ sở dữ liệu với nhiều tính năng hạn chế hơn MS Word, Excel và Access.
Bạn vẫn có thể sử dụng Microsoft Works 9 trên PC chạy Windows 10 hoặc 11 ngay hôm nay. Mặc dù bộ phần mềm đó có thể hơi lỗi thời nhưng nó được cung cấp miễn phí và đi kèm với nhiều template để tạo tài liệu. Đây là cách bạn có thể cài đặt và dùng thử Microsoft Works trên PC chạy Windows 11/10.
Cách tải xuống và cài đặt Microsoft Works 9
Bộ Microsoft Works thường không có sẵn trên các trang tải xuống phần mềm. Tuy nhiên, bạn vẫn có thể cài đặt và sử dụng phần mềm đó bằng file ISO MS Works được lưu giữ trên trang web Internet Archives.
Nếu bạn đang thắc mắc ISO là gì thì đó là một file được tạo từ đĩa quang. Do đó, Works ISO được lấy từ đĩa mà người dùng đã cài đặt bộ phần mềm đó. Bạn có thể tải và cài đặt Microsoft Works 9 bằng file ISO đó như sau:
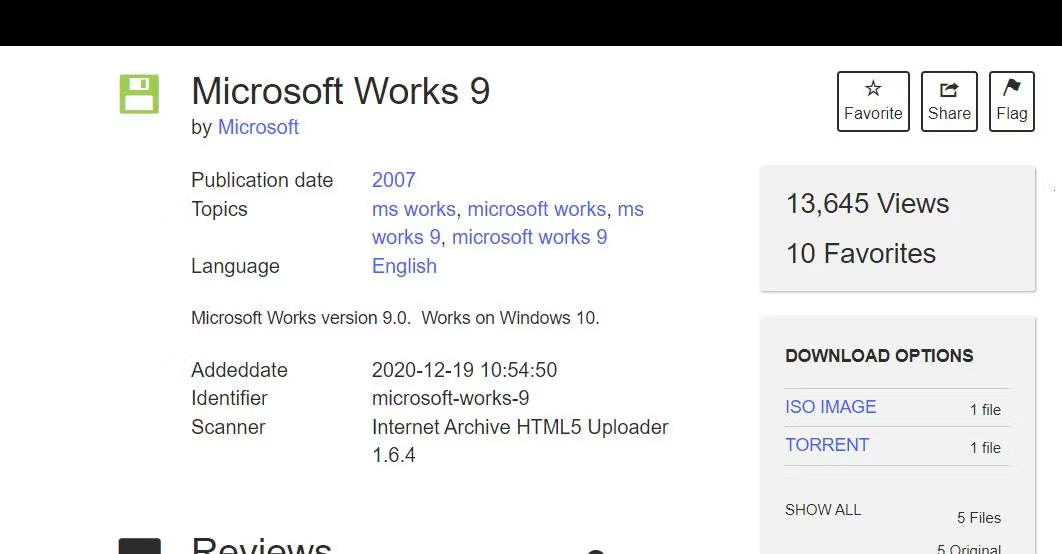
1. Mở trang web Internet Archives này trong trình duyệt của bạn:
https://archive.org/details/microsoft-works-9
2. Nhấp vào liên kết tải xuống ISO IMAGE.
3. Nhấp đúp vào file Microsoft Works 9.ISO và nhấn Open nếu hộp thoại Security Warning xuất hiện.
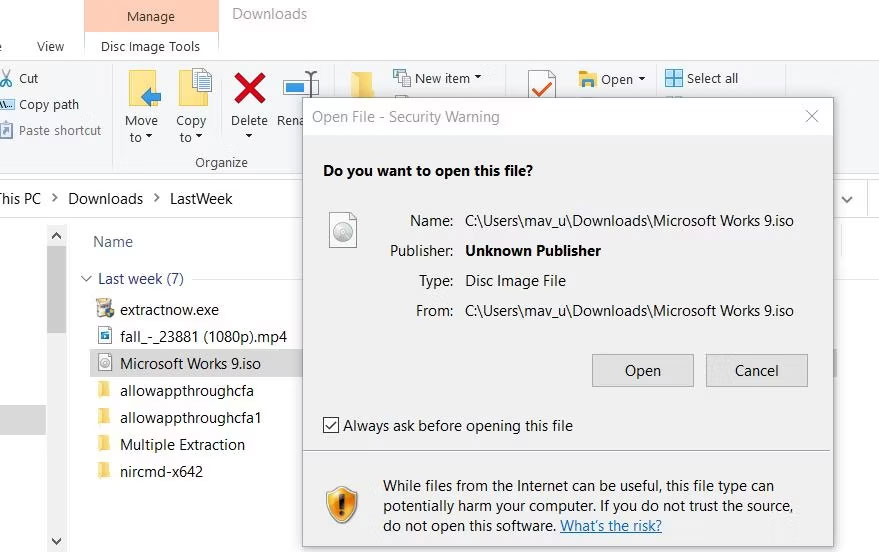
4. Sau đó, nhấp đúp vào file Setup.exe cho Microsoft Works 9.
5. Nhấp vào Next bên trong cửa sổ thiết lập Microsoft Works.
6. Nhấp vào Create a desktop shortcut để chọn tùy chọn đó.

7. Chọn tùy chọn Install MS Works 9.
8. Nhấn Continue để cài đặt các thành phần khác.
9. Sau đó chọn OK trên hộp thoại xác nhận MS Works đã được cài đặt.
Microsoft Works hiện đã được cài đặt trên PC của bạn. Bạn sẽ thấy biểu tượng MS hoạt động trên desktop. Nhấp đúp vào desktop shortcut để khởi chạy MS Works.
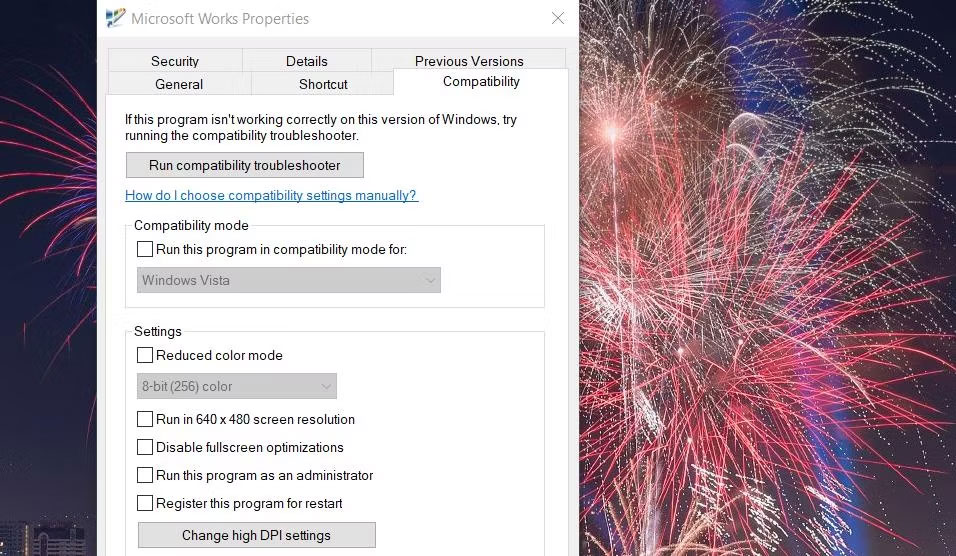
Nếu Works không khởi động với bạn, hãy thử chạy nó ở chế độ tương thích. Bấm chuột phải vào desktop shortcut Works để chọn Properties > Compatibility. Nhấp vào cài đặt Run this program in compatibility mode và chọn Windows Vista trên menu drop-down. Chọn Apply để lưu cài đặt chế độ tương thích Vista.
Bắt đầu với Microsoft Works 9
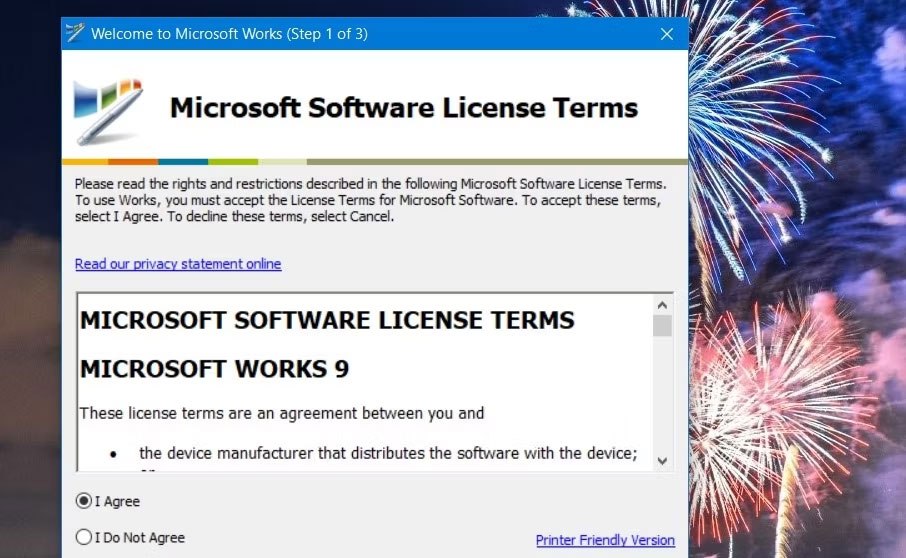
Bạn sẽ thấy cửa sổ Welcome to Microsoft Works vào lần đầu tiên bạn chạy phần mềm. Chọn tùy chọn I Agree trên cửa sổ đó để chấp nhận các điều khoản cấp phép. Bạn cũng sẽ được hỏi về việc tham gia chương trình trải nghiệm khách hàng. Bấm No để từ chối tham gia. Sau đó nhấn nút Finish để vào Microsoft Works 9.
Bây giờ, bạn có thể bắt đầu sử dụng bộ Microsoft Works 9. Một cửa sổ Microsoft Works mà bạn có thể chọn để mở các ứng dụng của bộ ứng dụng sẽ mở ra. Bạn có thể khởi chạy ứng dụng bằng cách nhấp vào các tùy chọn Works Word Processor, Database và Spreadsheet trong thanh Quick Launch của cửa sổ đó.
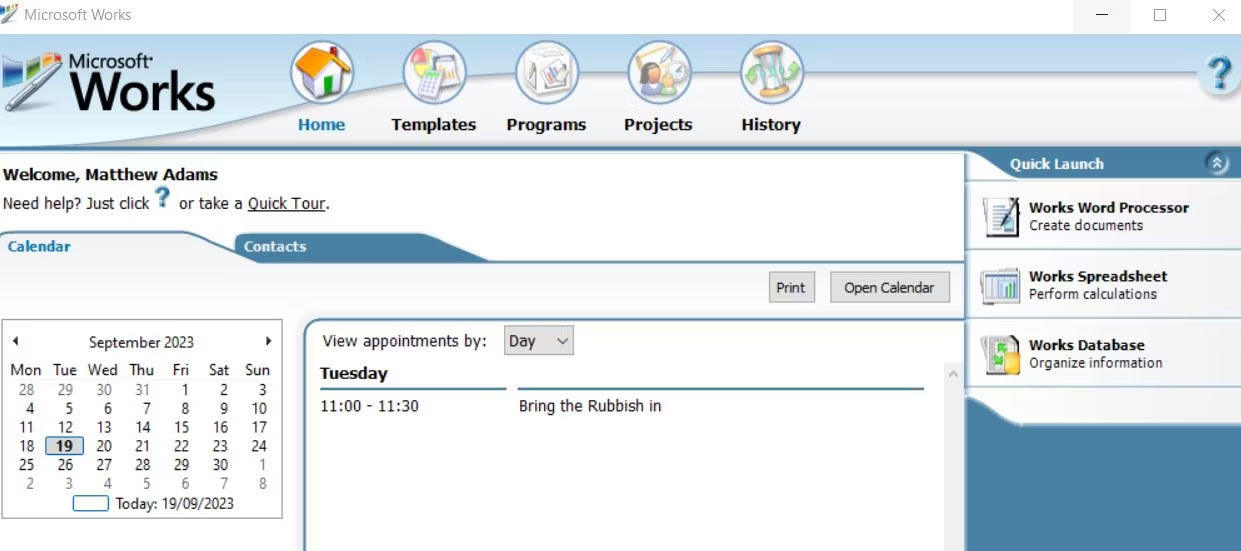
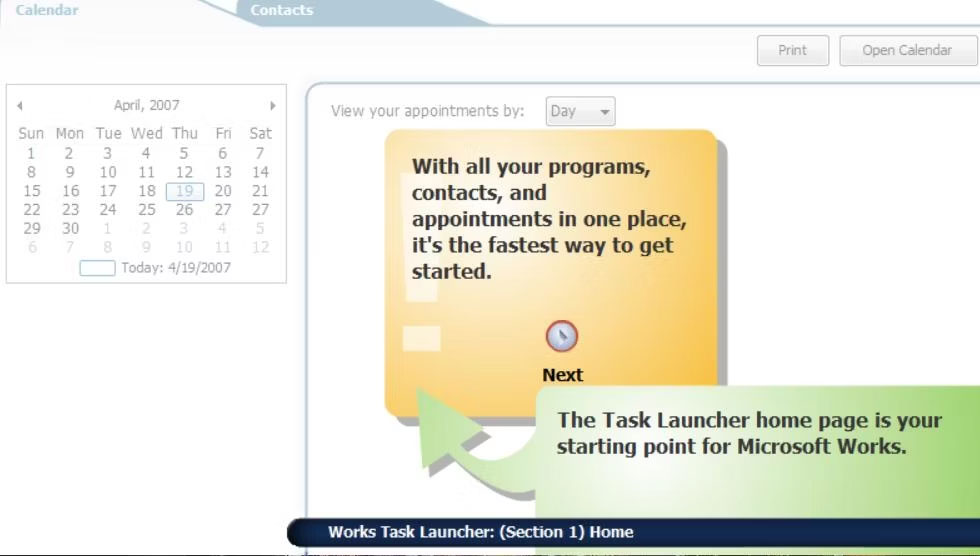
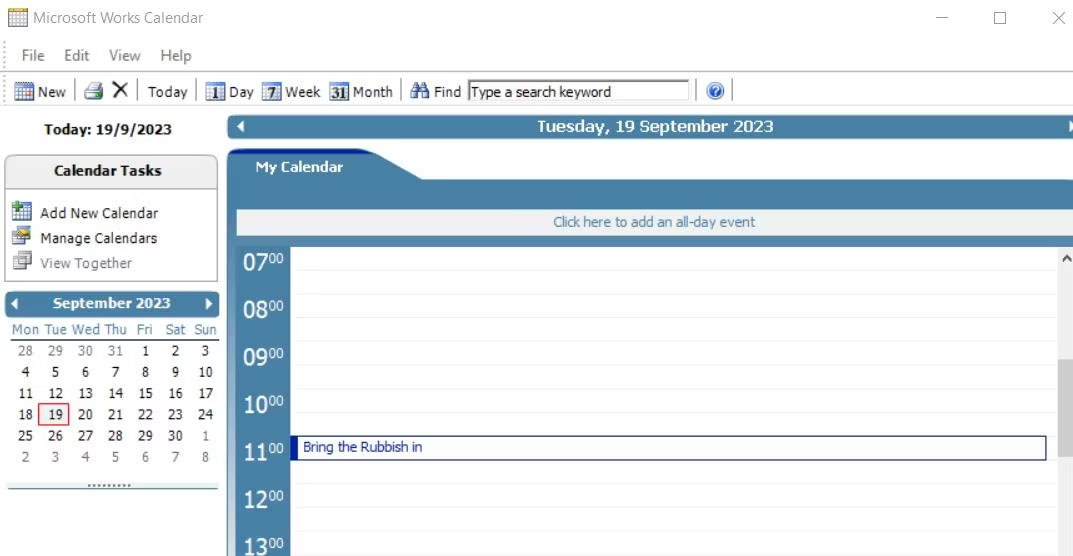
Bạn cũng sẽ nhận thấy rằng cửa sổ này có lịch để bạn có thể xem các cuộc hẹn. Để làm như vậy, bạn cần thêm cuộc hẹn bên trong ứng dụng Works Calendar. Bạn có thể khởi chạy phần mềm đó bằng cách nhấp vào nút Open Calendar. Để thêm sự kiện, hãy chọn một ngày trong ứng dụng Calendar rồi nhập ghi chú cho ngày đó vào tab My Calendar.
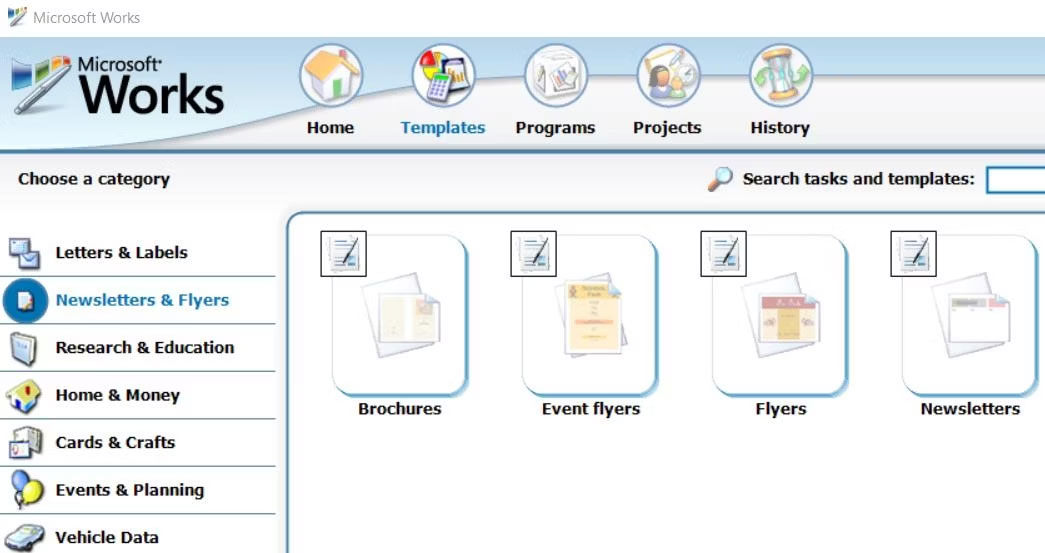
Nhấp vào tab Templates ở đầu Microsoft Works để truy cập các template được tạo sẵn. Ở đó, bạn có thể chọn các danh mục template để tạo bản tin, tờ rơi, thẻ, tài liệu lập ngân sách gia đình, du lịch và thể thao trong Works. Sau đó chọn một template để mở trong phần mềm xử lý văn bản, bảng tính hoặc cơ sở dữ liệu MS Works.
Microsoft Works cũng có một phần giới thiệu tương tác về bộ phần mềm này. Hướng dẫn đó cung cấp thông tin chi tiết về cách sử dụng lịch, danh bạ và template trong cửa sổ Microsoft Works. Nhấp vào tùy chọn Quick Tour ngay phía trên tab Calendar để mở. Sau đó nhấp vào Next để thực hiện chuyến tham quan.