Cách biến mọi cửa sổ trên Windows 10 trong suốt
- Thứ ba - 18/08/2020 00:54
- In ra
- Đóng cửa sổ này
Kiểu giao diện trong suốt được nhiều nhà sản xuất áp dụng trên ứng dụng để mang tới thiết kế đẹp mắt cho người dùng. Bên cạnh đó, một số công cụ cũng tạo độ trong suốt cho thanh Taskbar trên Windows 10, chế độ nền trong suốt trên máy tính, hay chế độ trong suốt cho Start menu.
Trong bài viết này bạn sẽ biết thêm một số cách có khả năng làm trong suốt mọi cửa sổ đang mở trên máy tính.
Cách tạo độ trong suốt cho cửa sổ trên Windows bằng Glass2k
Công cụ Glass2k có dung lượng rất nhẹ, không phải cài đặt trên máy tính. Đặc biệt, Glass2k còn cung cấp phím tắt để chuyển giao diện sang chế độ trong suốt nhanh chóng. Bài viết dưới đây sẽ hướng dẫn bạn đọc cách sử dụng công cụ Glass2k tạo giao diện trong suốt trên Windows.
Bước 1:
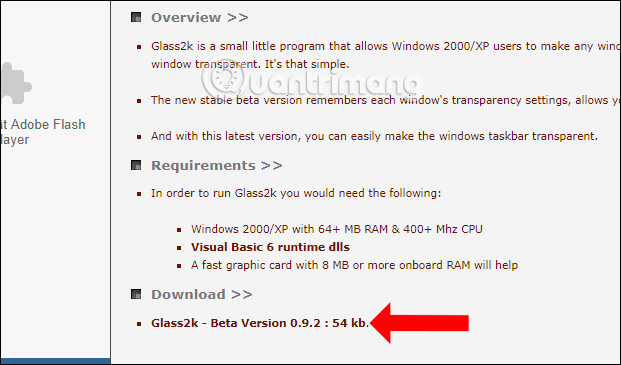
Truy cập vào link dưới đây để tải file Glass2k xuống máy tính.
- http://chime.tv/products/glass2k.shtml
Bước 2:
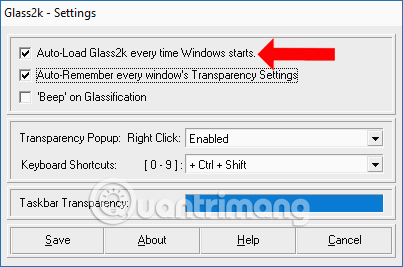
Sau khi tải file xuống click vào file exe để khởi chạy sẽ hiển thị giao diện Settings của công cụ. Trong giao diện này bạn tích chọn vào Auto-Load Glass2k every Windows starts để công cụ hoạt động ngay khi mở Windows.
Tích chọn tiếp vào Auto-Remember every window’s Transparency Settings để nhớ các thiết lập chế độ trong suốt cho các cửa sổ trên công cụ.
Bước 3:
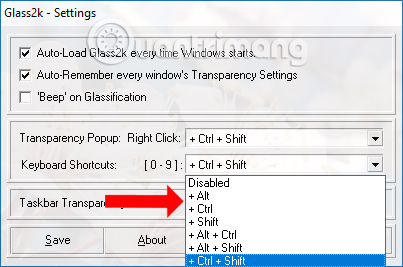
Cũng trong giao diện này tại dòng Transparency Popup thiết lập phím tắt để kích hoạt chế độ chỉnh độ trong suốt cho cửa sổ đang mở trên Windows.
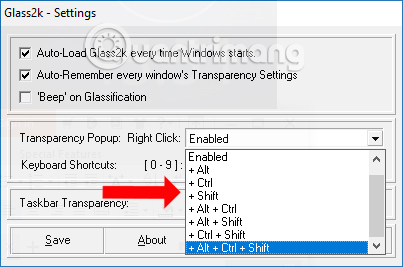
Ngoài ra công cụ cũng cung cấp phím tắt để chỉnh mức độ trong suốt cho giao diện ứng dụng, trong phần Keyboard shortcut.
- Control + Shift + 9: Mức độ trong suốt thấp nhất.
- Control + Shift + 8: Tăng dần độ trong suốt. Bạn nhấn dần từ 8 đến 3 để tăng mức độ trong suốt cho cửa sổ.
- Control + Shift + 2: Mức độ trong suốt cao.
- Control + Shift + 1: Chế độ trong suốt ở mức tối đa.
- Control + Shift + 0: Hủy chế độ trong suốt cho cửa sổ ứng dụng.
Người dùng cũng có thể thay đổi nhóm phím tắt mức độ trong suốt cho cửa sổ ứng dụng. Cuối cùng nhấn nút Save để lưu lại.
Bước 4:
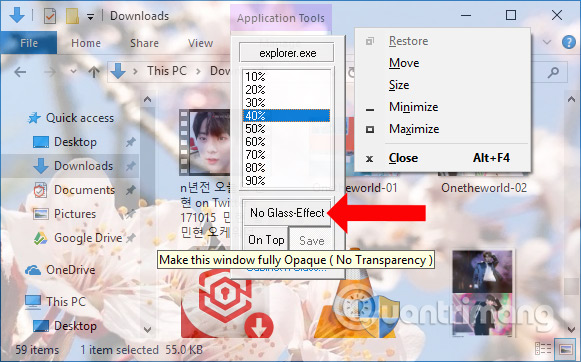
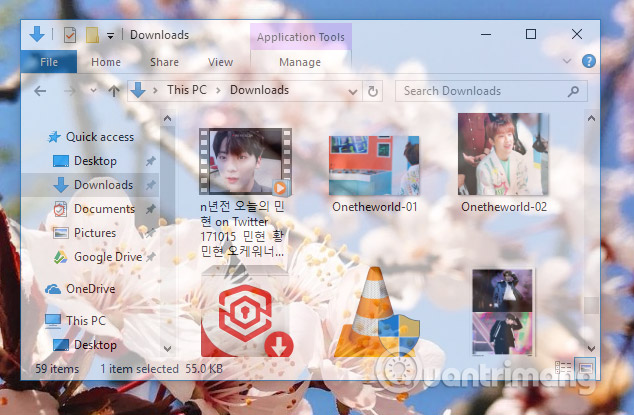
Để làm trong suốt bất cứ cửa sổ nào đang mở trên máy tính, nhấn tổ hợp phím tắt đã thiết lập lúc trước. Lúc này sẽ hiển thị cột % làm mờ cho cửa sổ đó. Cao nhất với mức 90% và thấp nhất với mức 10%.
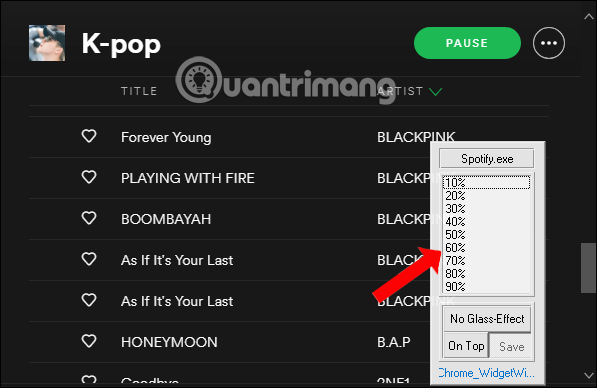
Chẳng hạn tôi sẽ làm mờ cửa sổ ứng dụng với 40% và được kết quả như hình dưới đây. Giao diện cửa sổ trở nên trong suốt. Chúng ta nên điều chỉnh độ trong suốt khoảng từ 50% trở lên để có thể nhìn rõ nội dung trong cửa sổ.
Bước 5:
Để thoát chế độ nền trong suốt, nhấn lại tổ hợp phím kích hoạt trên Glass2k và nhấn No Glass Effect.
Bước 6:
Công cụ Glass2k còn có tính năng chỉnh độ trong suốt cho thanh Taskbar. Trong giao diện Settings của công cụ sẽ có phần Taskbar Transparency để điều chỉnh mức độ bạn muốn.
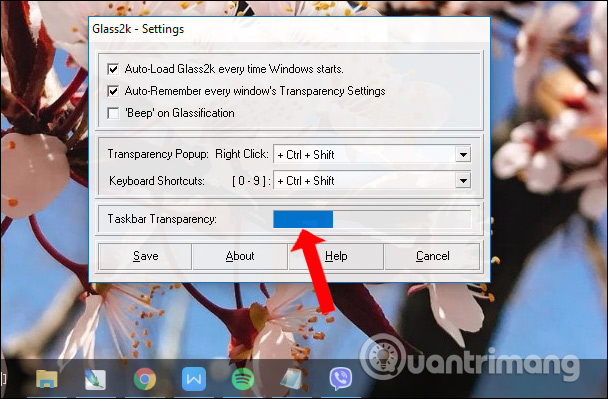
Bước 7:
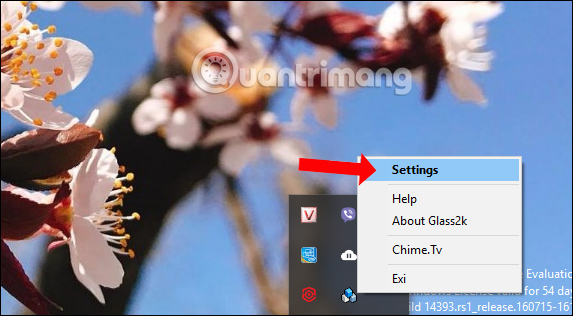
Với những lần truy cập sau để thiết lập lại Glass2k như tùy chỉnh lại phím tắt hiển thị danh sách % độ mờ, nhấn chuột phải vào biểu tượng công cụ ở khay hệ thống rồi chọn Settings.
Công cụ Glass2k sẽ mang tới tính năng tùy biến độ trong suốt cho các cửa sổ ứng dụng trên Windows. Bên cạnh đó, công cụ còn tạo độ trong suốt cho thanh Taskbar, mà bạn không cần tới phần mềm khác hỗ trợ.
Video hướng dẫn tạo trong suốt cho các cửa sổ Windows
Script AutoHotKey làm cho cửa sổ trong suốt
Cách dễ nhất để làm cho cửa sổ trong suốt là sử dụng AutoHotKey. Phương pháp này rất dễ dàng và bạn có thể gán một phím tắt để làm cửa sổ trong suốt. Dưới đây là các bước chính xác bạn nên làm theo.
1. Đầu tiên, tải AutoHotKey: https://download.com.vn/autohotkey-10471 và cài đặt nó.
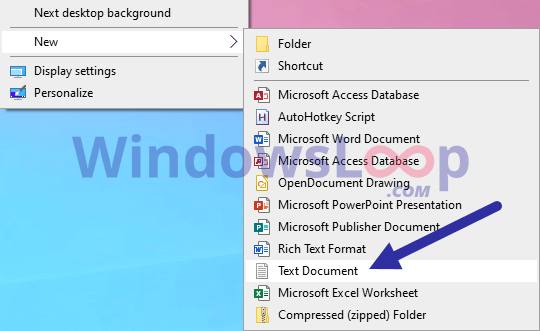
2. Sau khi cài đặt, nhấp chuột phải vào màn hình nền và chọn New > Text Document.
3. Đặt tên là "TrasparentWindow.ahk". Bạn có thể đặt tên file thành bất kỳ thứ gì bạn muốn, nhưng hãy nhớ đảm bảo rằng bạn thay thế .txt bằng .ahk.
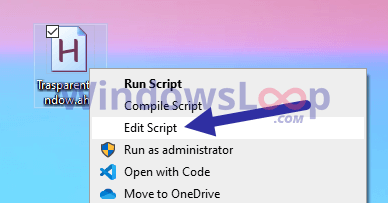
4. Nhấp chuột phải vào file .ahk và chọn Edit script.
File sẽ được mở trong Notepad. Sao chép và dán đoạn code dưới đây vào đó.
;Press Alt + T
 !T::
 togg34:=!togg34
 if togg34
 WinSet, Transparent, 200 , A
 else
 WinSet, Transparent, OFF , A
5. Chọn File > Save hoặc nhấn Ctrl + S để lưu file.
6. Đóng Notepad.
Nhấp đúp vào file mới tạo để chạy nó. Miễn là script đang chạy, bạn có thể làm cho bất kỳ cửa sổ nào trong suốt. Chỉ cần chọn cửa sổ và nhấn phím tắt Alt + T. Nhấn lại phím tắt để làm cho cửa sổ bình thường.
Làm cho cửa sổ trong suốt bằng ứng dụng Peek Through
Peek Through cho phép bạn thay đổi độ mờ của bất kỳ cửa sổ nào bằng phím tắt. Ứng dụng thậm chí còn cho phép bạn thiết lập mức độ trong suốt của một cửa sổ.
1. Đầu tiên, tải ứng dụng Peek Through từ đây và cài đặt nó:
https://www.lukepaynesoftware.com/projects/peek-through/
2. Sau khi cài đặt, mở menu Start.
3. Nhập Peek Through và nhấp vào kết quả để mở ứng dụng.
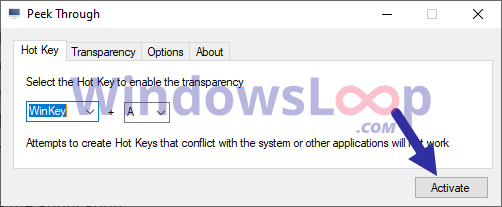
4. Sau khi mở ứng dụng, nhấp vào nút Activate.
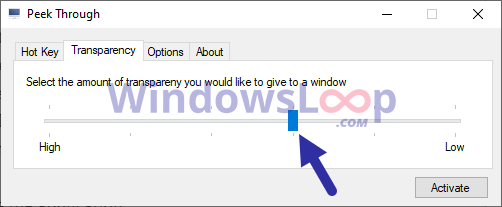
5. (Tùy chọn) Để thay đổi giá trị độ trong suốt, hãy chuyển đến tab Transparency và di chuyển thanh trượt nếu cần.
6. Nhấp vào nút Save để áp dụng cài đặt.
7. Thu nhỏ ứng dụng.
Ngay sau khi bạn nhấp vào nút Minimize, ứng dụng sẽ được thu nhỏ xuống thanh tác vụ. Từ bây giờ, bất cứ khi nào bạn muốn một cửa sổ trong suốt, hãy chọn nó và nhấn phím tắt Win + A. Nhấn lại phím tắt để làm cho cửa sổ bình thường.
