10 cách mở công cụ Remote Desktop Connection trong Windows 11
- Thứ sáu - 03/11/2023 09:56
- In ra
- Đóng cửa sổ này
Remote Desktop Connection là ứng dụng tích hợp của Windows 11 để kết nối với máy tính từ xa. Bạn có thể sử dụng nó để truy cập từ xa vào một PC khác, điều này rất hữu ích cho mục đích sử dụng cá nhân hoặc liên quan đến hỗ trợ. Trong phiên bản Windows 11 Professional và Enterprise, bạn cũng có thể kích hoạt Remote Desktop để thiết lập PC host cho tính toán từ xa.
Để kết nối với PC từ xa, bạn cần mở công cụ Remote Desktop Connection. Sau khi hoàn tất, bạn có thể nhập thông tin đăng nhập cho PC từ xa để kết nối với nó thông qua cửa sổ Remote Desktop Connection. Vậy hãy cùng khám phá cách kích hoạt công cụ Remote Desktop Connection trên Windows 11 nhé!
1. Mở Remote Desktop Connection bằng công cụ tìm kiếm Windows 11
Công cụ tìm kiếm của Windows 11 là một cách tiện dụng để tìm phần mềm, file và các accessory khác trên PC của bạn. Như vậy, bạn có thể sử dụng nó để tìm và mở Remote Desktop Connection.
1. Để mở công cụ tìm kiếm, hãy nhấp vào biểu tượng kính lúp trên thanh tác vụ của Windows 11.
2. Nhập Remote Desktop Connection vào hộp tìm kiếm.
3. Sau đó bấm Remote Desktop Connection để mở accessory đó.
4. Ngoài ra, bạn có thể nhấp vào tùy chọn Run as administrator trong công cụ tìm kiếm.
2. Mở Remote Desktop Connection bằng công cụ Run
Công cụ Run là một cách để khởi chạy các ứng dụng và chương trình. Bạn có thể mở các accessory và applet Control Panel của Windows 11 chỉ bằng cách nhập lệnh Run. Đây là cách bạn có thể mở Remote Desktop Connection bằng Run:
1. Nhấp chuột phải vào Start hoặc nhấn Win + X để mở menu WinX.
2. Chọn Run trên menu đó.
3. Nhập mstsc vào hộp Open.
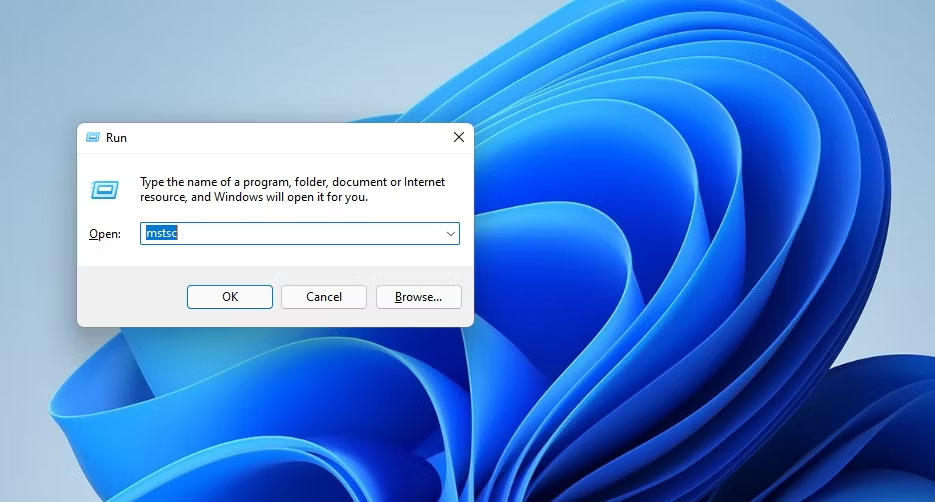
4. Nhấp vào nút OK để mở Remote Desktop Connection.
3. Mở Remote Desktop Connection bằng Windows Terminal
Bạn có thể mở Remote Desktop Connection bằng cả công cụ dòng lệnh Command Promt và PowerShell. Windows Terminal kết hợp cả hai công cụ dòng lệnh đó trong nền tảng desktop mới nhất của Microsoft. Bạn có thể mở RDC bằng Windows Terminal như sau.
1. Mở menu Start và nhấp vào All apps ở đó.
2. Chọn Windows Terminal trên menu Start.
3. Nhấp vào tùy chọn Open a new tab được hiển thị ngay bên dưới để chọn Command Prompt hoặc Windows PowerShell.
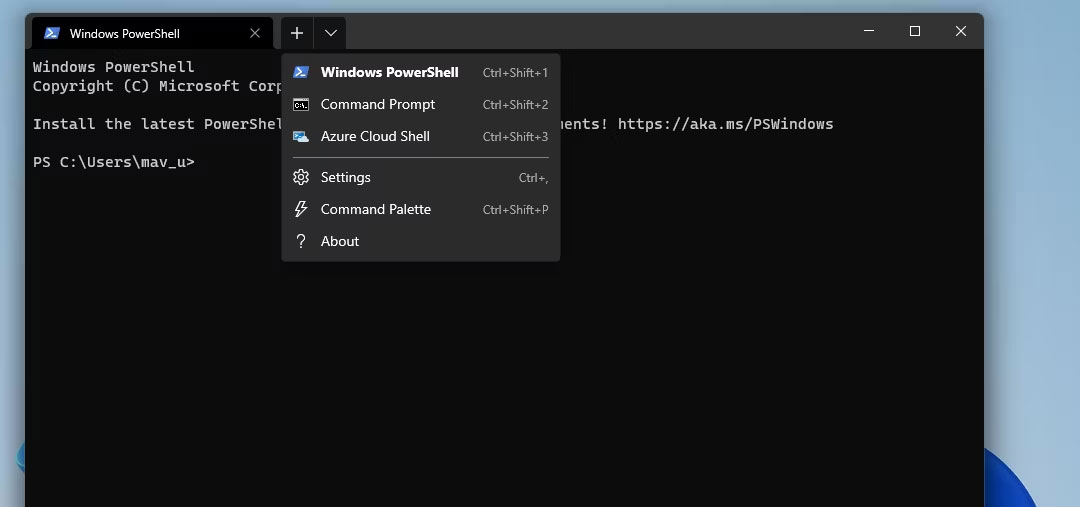
4. Nhập lệnh này trong tab Command Prompt hoặc PowerShell:
mtsc
5. Nhấn Enter để mở Remote Desktop Connection.
4. Mở Remote Desktop Connection trong thư mục Windows Accessories
Remote Desktop Connection được bao gồm trong thư mục Windows Accessories. Bạn có thể mở accessory từ thư mục Windows Accessories trong File Explorer. Để làm điều đó, hãy làm theo các bước dưới đây.
1. Nhấn nút File Explorer (nút có biểu tượng thư mục) trên thanh tác vụ của Windows 11.
2. Mở thư mục này trong File Explorer:
C:\ProgramData\Microsoft\Windows\Start Menu\Programs\Accessories
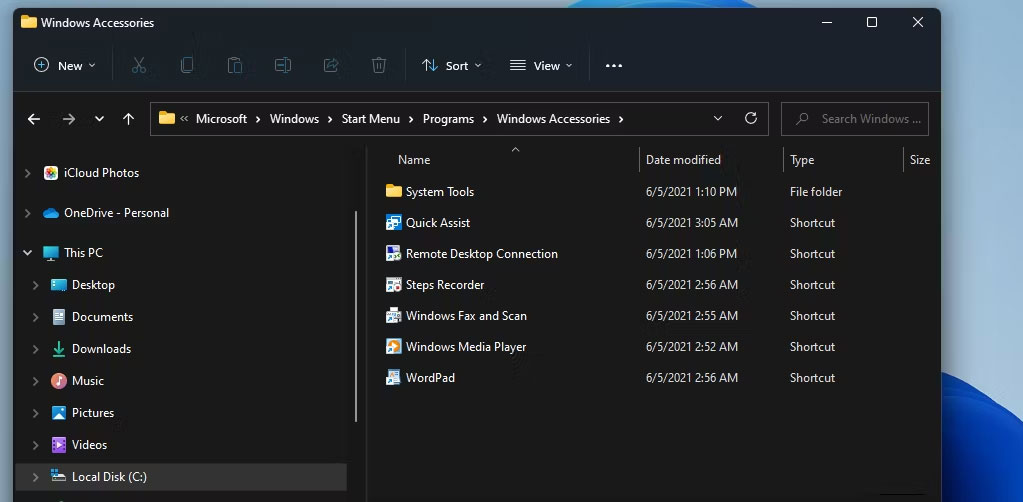
3. Nhấp vào Remote Desktop Connection trong thư mục đó.
5. Mở Remote Desktop Connection bằng File Explorer
Bạn không cần phải lục lọi các thư mục trong File Explorer để mở Remote Desktop Connection. Thay vào đó, bạn có thể nhanh chóng mở Remote Desktop Connection bằng cách nhập file của ứng dụng đó vào thanh địa chỉ của Explorer như sau:
1. Mở công cụ quản lý file và thư mục Explorer của Windows 11.
2. Nhấp vào bên trong thanh địa chỉ của Explorer và xóa đường dẫn hiện tại trong đó.
3. Nhập mstsc.exe vào thanh địa chỉ trống của File Explorer.
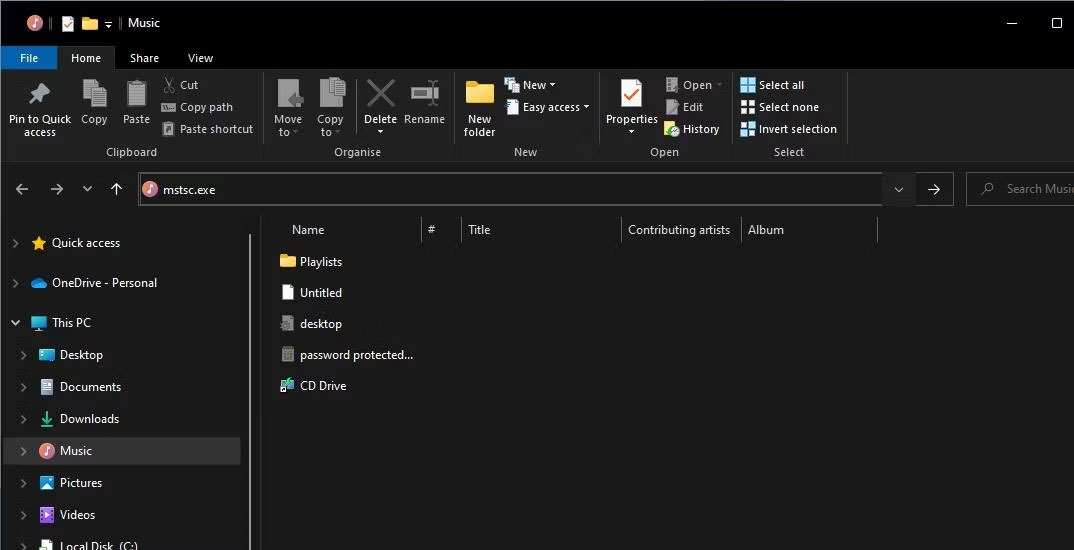
4. Nhấn Enter để mở Remote Desktop Connection.
6. Mở Remote Desktop Connection bằng menu Start
Remote Desktop Connection cũng nằm trong số các ứng dụng và tiện ích hệ thống trong thư mục Windows Tools. Thư mục đó có thể truy cập được trên menu Start. Bạn có thể truy cập Remote Desktop Connection bằng cách mở thư mục Windows Tools bằng menu Start như sau.
1. Nhấn vào Start hoặc nút logo Windows.
2. Chọn tùy chọn All apps để xem tất cả các shortcut chương trình và thư mục trên menu Start.
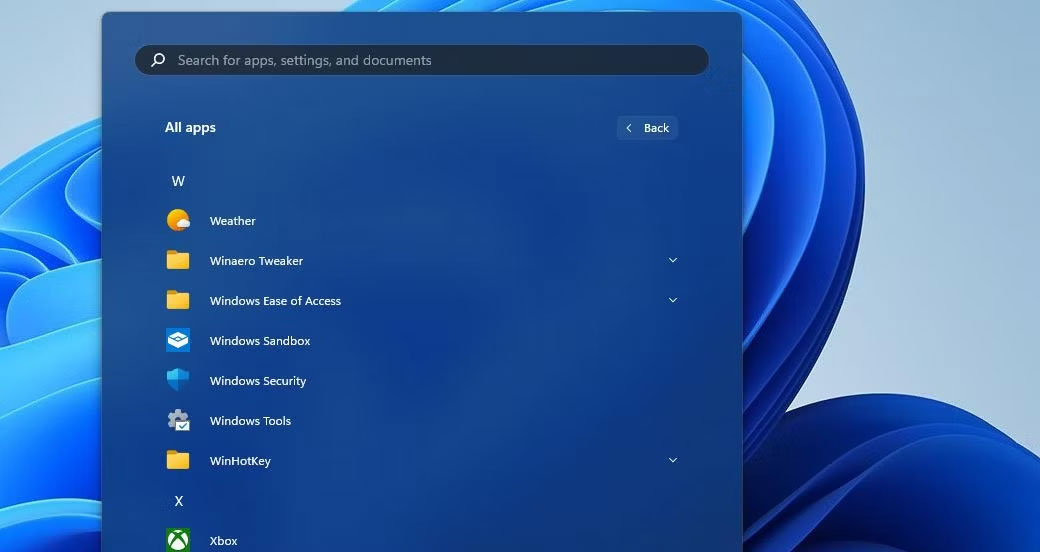
3. Cuộn xuống menu và nhấp đúp vào Windows Tools.
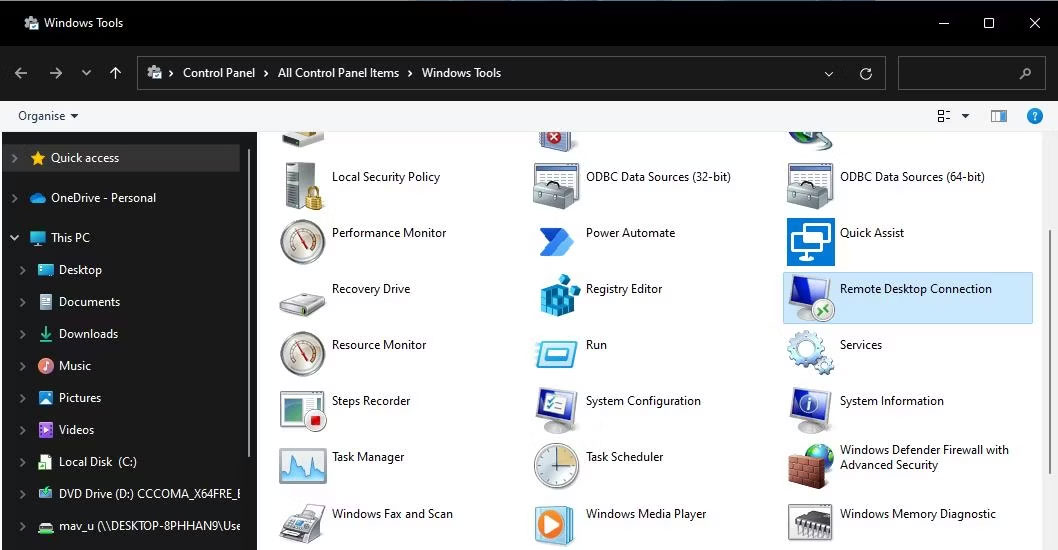
4. Nhấp đúp vào Remote Desktop Connection trong thư mục Windows Tools.
Windows Tools cũng có thể truy cập được trong Control Panel. Mở Control Panel và thay đổi chế độ xem của nó bằng cách chọn Small icons. Sau đó, bạn có thể nhấp vào Windows Tools và chọn mở Remote Desktop Connection từ đó.
7. Mở Remote Desktop Connection bằng Task Manager
Task Manager là một tiện ích mà bạn có thể vừa chấm dứt vừa chạy các tiến trình. Đây là cách bạn có thể mở Remote Desktop Connection bằng cách chạy tiến trình của nó bằng công cụ Create new task của Task Manager:
1. Kích hoạt Task Manager bằng cách sử dụng phím tắt Ctrl + Shift + Esc để truy cập tiện ích hệ thống đó.
2. Nhấp vào File ở đầu Task Manager để xem một cửa sổ nhỏ.
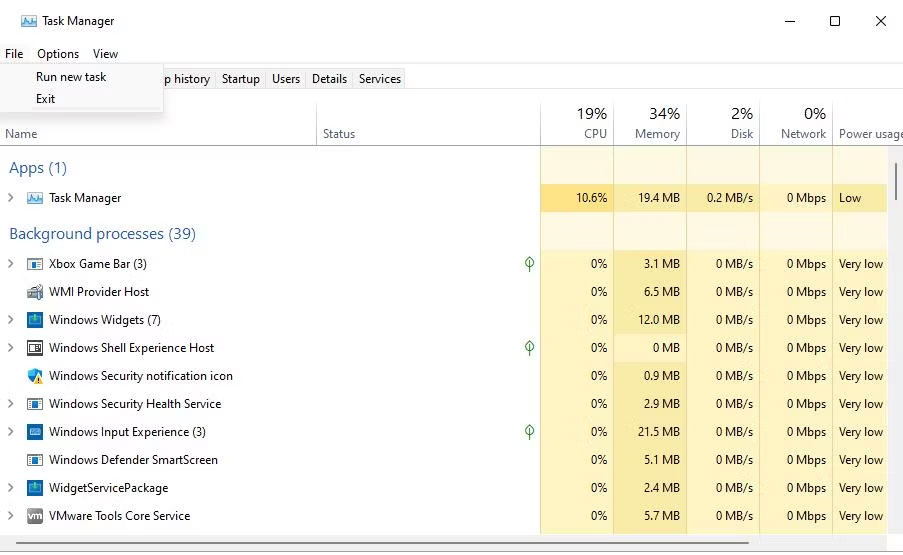
3. Chọn hộp kiểm có nhãn Create this task with administrative privileges.
4. Nhập lệnh tiến trình mstsc vào hộp Open.
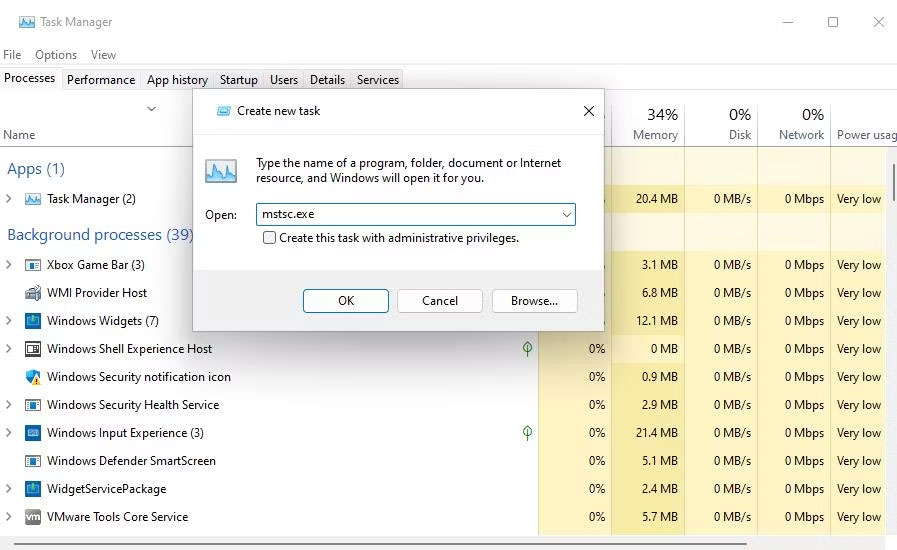
5. Chọn OK để chạy tiến trình Remote Desktop Connection.
8. Mở Remote Desktop Connection bằng desktop shortcut
Các desktop shortcut cung cấp cách trực tiếp nhất để mở phần mềm và accessory. Bạn có thể thiết lập shortcut cho RDC để có thể mở nó trực tiếp từ desktop của mình. Đây là cách bạn có thể thiết lập shortcut Remote Desktop Connection trong Windows 11.
1. Nhấp chuột phải vào một vùng trên desktop để chọn New > Shortcut.
2. Nhập %windir%\system32\mstsc.exe vào cửa sổ Create Shortcut và nhấp vào Next để tiếp tục.
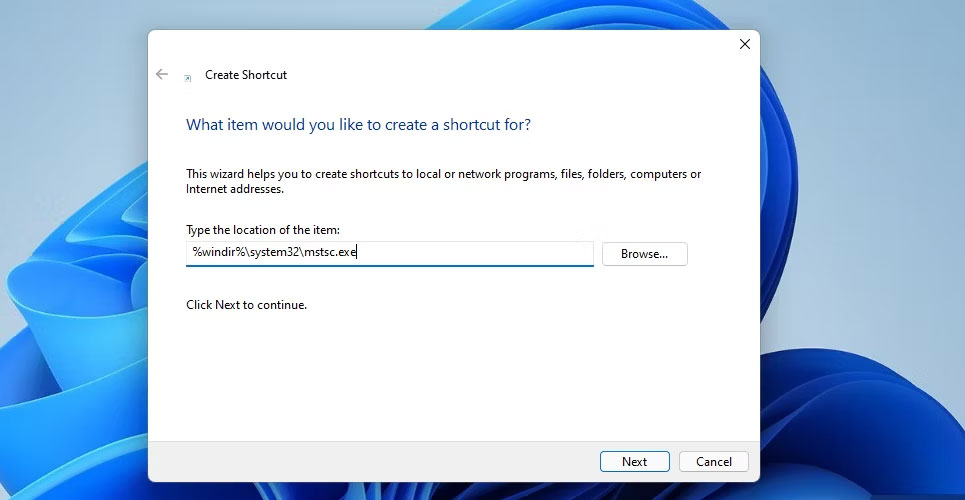
3. Nhập Remote Desktop Connection vào hộp văn bản.
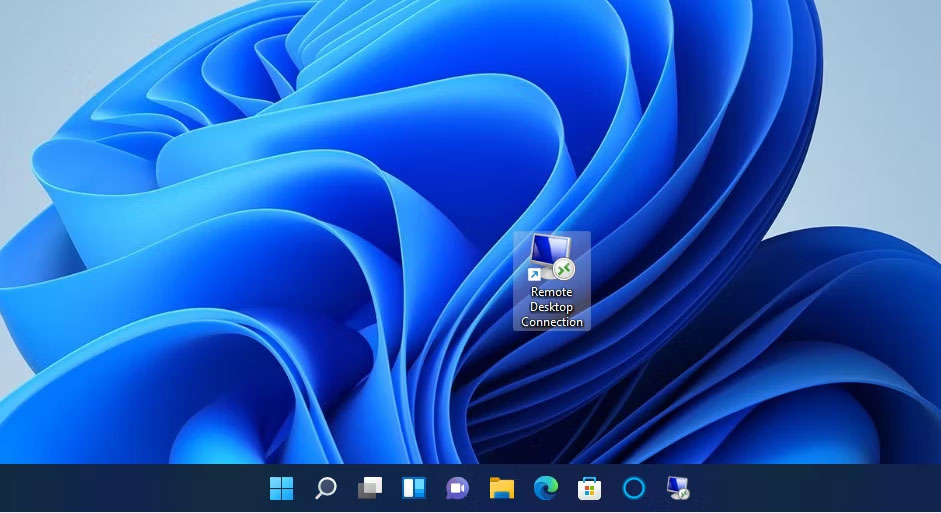
4. Nhấn nút Finish để thêm desktop shortcut như trong ảnh chụp màn hình ngay bên dưới.
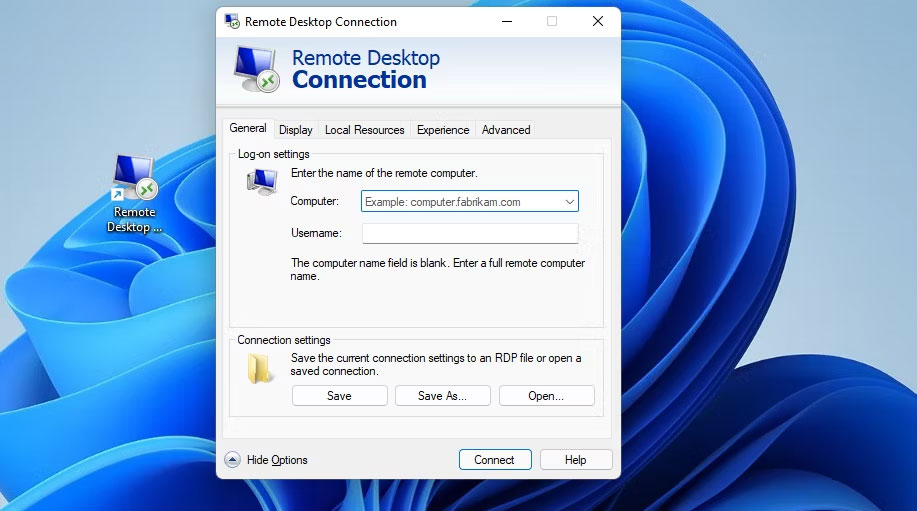
5. Bây giờ, bạn có thể nhấp vào desktop shortcut mới để mở Remote Desktop Connection.
Shortcut đó sẽ chỉ mở cửa sổ RDC. Bạn cũng có thể thiết lập shortcut Remote Desktop Connection cho một PC cụ thể. Để làm điều đó, hãy nhập mstsc.exe /v:PC-name vào hộp văn bản vị trí mục của cửa sổ Create Shortcut. Thay thế PC-name ở vị trí mục đó bằng tên thực của PC cần kết nối.
Nếu muốn, bạn có thể sử dụng shortcut trên thanh tác vụ cho Remote Desktop Connection. Nhấp chuột phải vào shortcut Remote Desktop Connection và chọn Show more options > Pin to taskbar. Việc chọn tùy chọn đó sẽ thêm shortcut RDC vào thanh tác vụ như được hiển thị trong ảnh chụp nhanh bên dưới. Bạn có thể xóa desktop shortcut bằng cách nhấp chuột phải vào nó và chọn Delete.
9. Mở Remote Desktop Connection bằng phím tắt
Bạn có thể thêm hotkey vào desktop shortcut RDC. Bằng cách đó, bạn sẽ có thể mở Remote Desktop Connection bằng phím tắt. Đầu tiên, thiết lập dessktop shortcut như được nêu trong phương pháp trên. Sau đó, bạn có thể thêm hot key vào shortcut đó như sau.
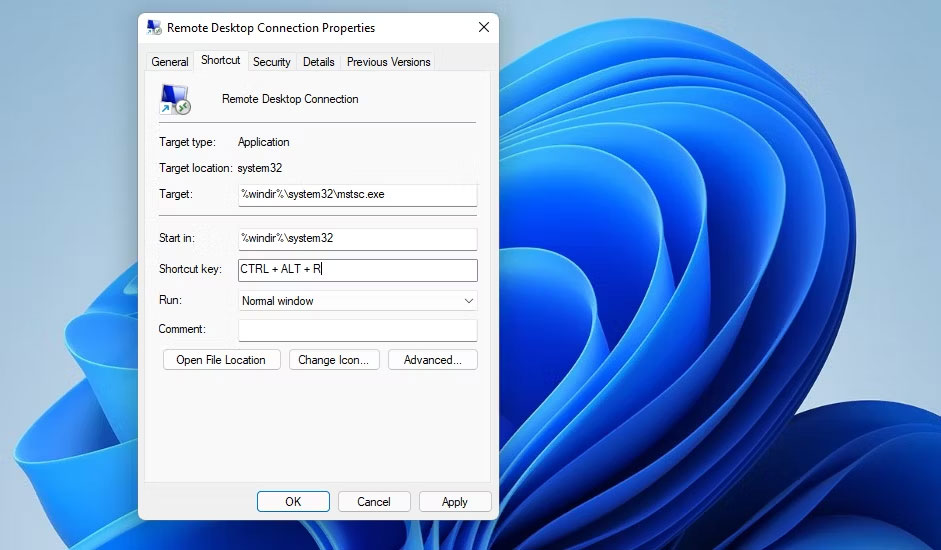
1. Nhấp chuột phải vào shortcut Remote Desktop Connection trên desktop và chọn Properties.
2. Nhấp vào bên trong hộp shortcut được hiển thị trong ảnh chụp màn hình bên dưới.
3. Nhấn phím R để thiết lập hotkey Ctrl + Alt + R.
4. Nhấp vào nút Apply để lưu shortcut mới.
Bây giờ, bạn có thể nhấn Ctrl + Alt + R để hiển thị Remote Desktop Connection bất cứ khi nào bạn cần. Tuy nhiên, đừng xóa desktop shortcut. Shortcut đó phải được giữ nguyên để hotkey của nó hoạt động.
10. Mở Remote Desktop Connection bằng menu ngữ cảnh
Menu ngữ cảnh là menu chuột phải mà bạn có thể mở từ desktop. Menu đó không bao gồm Remote Desktop Connection theo mặc định. Tuy nhiên, bạn có thể thêm shortcut để mở Remote Desktop Connection vào menu ngữ cảnh bằng một tinh chỉnh registry tương đối đơn giản như sau:
1. Khởi động ứng dụng Registry Editor bằng cách nhấn nút Windows + R, nhập lệnh regedit bên trong hộp thoại Run và nhấp vào OK.
2. Nhấp vào thanh vị trí registry và xóa đường dẫn ở đó.
3. Nhập vị trí này cho key shell bên trong thanh địa chỉ của Registry Editor và nhấn Enter:
Computer\HKEY_CLASSES_ROOT\Directory\Background\shell\
4. Nhấp vào key shell bằng nút chuột phải của bạn và chọn New.
5. Chọn Key để thêm mục registry mới.
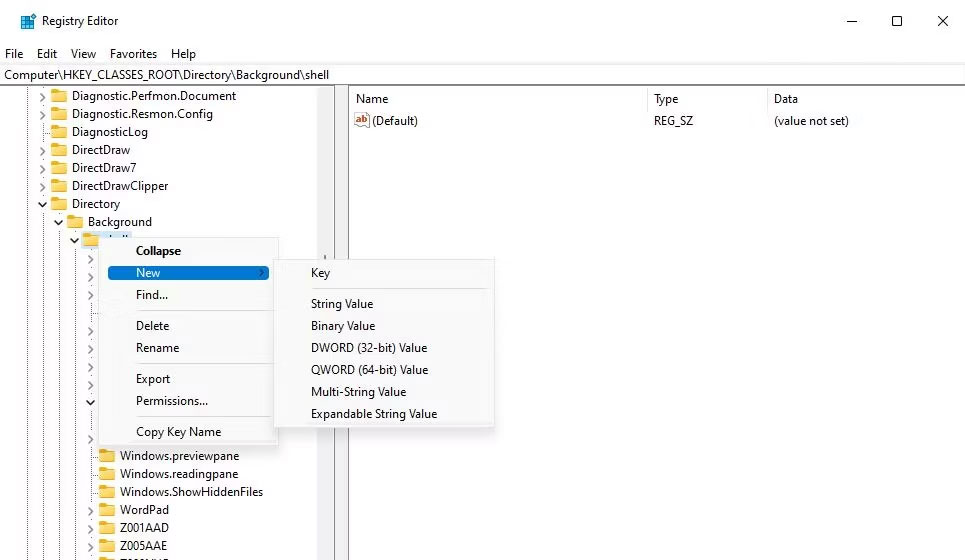
6. Nhập Remote Desktop Connection làm tiêu đề cho key mới.
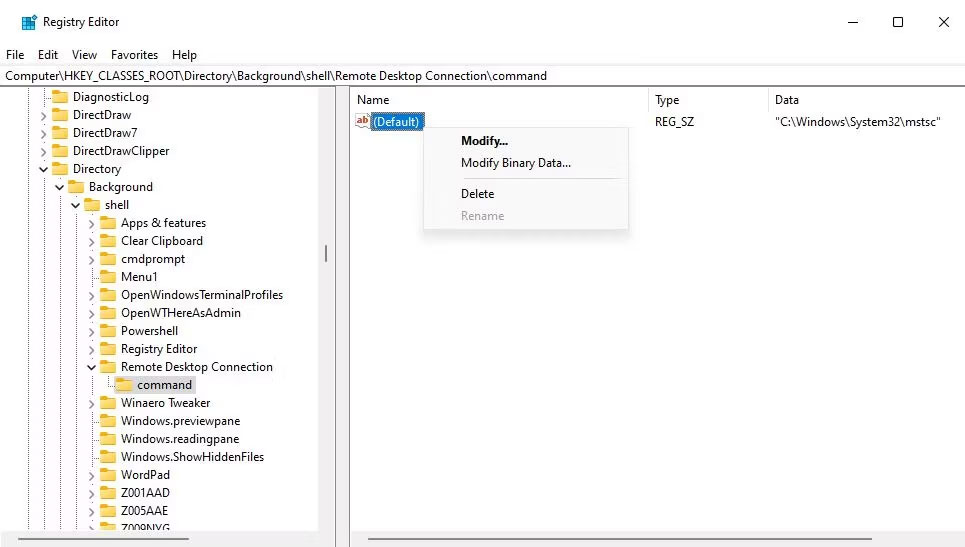
7. Bấm chuột phải vào Remote Desktop Connection để chọn New > Key.
8. Tiếp theo, nhập command vào hộp văn bản cho subkey mới.
9. Bấm chuột phải vào chuỗi (Default) bên trong subkey command mới và chọn Modify.
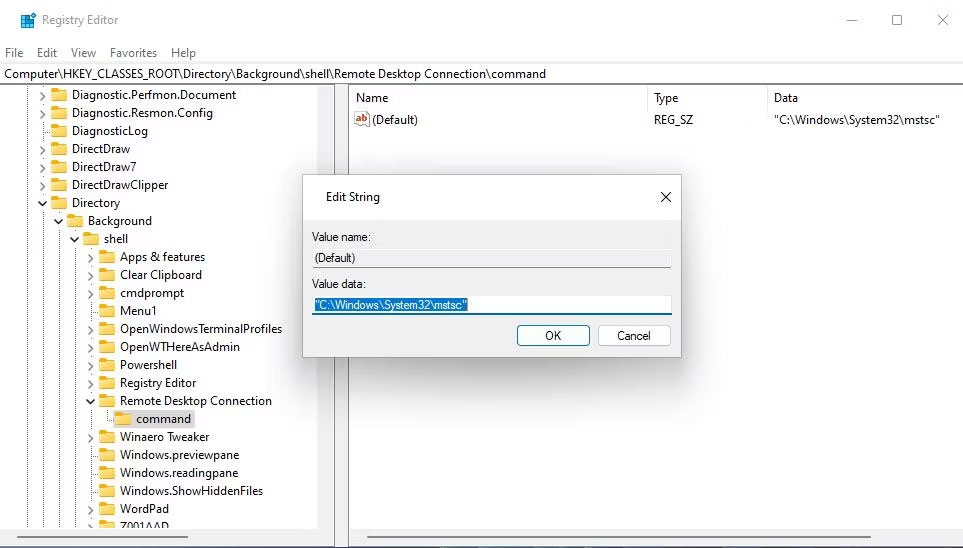
10. Nhập "C:\Windows\System32\mstsc" bên trong hộp Value data và chọn OK.
Bây giờ, bạn có thể mở ứng dụng Remote Desktop Connection từ menu ngữ cảnh desktop. Nhấp chuột phải vào bất kỳ vùng trống nào trên dessktop Windows 11 để chọn Show more options để xem menu ngữ cảnh cổ điển. Bạn sẽ thấy shortcut Remote Desktop Connection mới trên menu ngữ cảnh cổ điển.
Nhấp vào shortcut đó để truy cập ứng dụng Remote Desktop Connection.
